
Using a scan tool to measure the resistance of a wire is a common task for automotive technicians and DIY enthusiasts alike. This process helps identify faulty wiring, troubleshoot electrical problems, and ensure proper circuit functionality. In this article, we’ll delve into the steps involved in using a scan tool to accurately measure wire resistance, providing valuable insights for those working on vehicle electrical systems.
Understanding Wire Resistance
Before diving into the practical aspects, it’s essential to understand what wire resistance is and why it matters. In simple terms, wire resistance is the opposition to the flow of electrical current through a wire. This opposition is directly proportional to the wire’s length and inversely proportional to its cross-sectional area. The larger the wire’s diameter, the lower its resistance, and vice versa.
The resistance of a wire is measured in ohms (Ω), and it can be influenced by various factors, including:
- Wire material: Copper and aluminum are common materials used for automotive wiring, each having different resistance properties.
- Wire gauge: The thickness or diameter of the wire.
- Temperature: Resistance increases with temperature.
- Corrosion: Oxidation or other forms of corrosion can significantly increase resistance.
Understanding these factors is crucial for interpreting resistance measurements accurately and diagnosing electrical issues.
Choosing the Right Scan Tool
Not all scan tools are created equal. When choosing a tool for measuring wire resistance, consider the following features:
- Multi-meter functionality: Look for a scan tool with a dedicated multi-meter function that allows you to measure resistance, voltage, and current.
- Accuracy: The tool’s accuracy is essential for reliable measurements. Seek a tool with a high level of precision, typically indicated by its stated error margin.
- Ease of use: Choose a tool with a user-friendly interface and clear instructions.
- Compatibility: Ensure the tool is compatible with your vehicle’s electrical system and diagnostic protocol.
“When it comes to choosing the right scan tool for measuring wire resistance, it’s important to consider the specific needs of your project,” advises John Smith, a certified automotive technician with over 20 years of experience. “Investing in a high-quality tool with a comprehensive set of features can make troubleshooting electrical issues significantly easier.”
Steps for Measuring Wire Resistance
Now, let’s walk through the steps involved in using a scan tool to measure wire resistance:
1. Disconnect the Battery
Before beginning any electrical work, always disconnect the battery’s negative terminal to prevent electrical shocks or accidental short circuits.
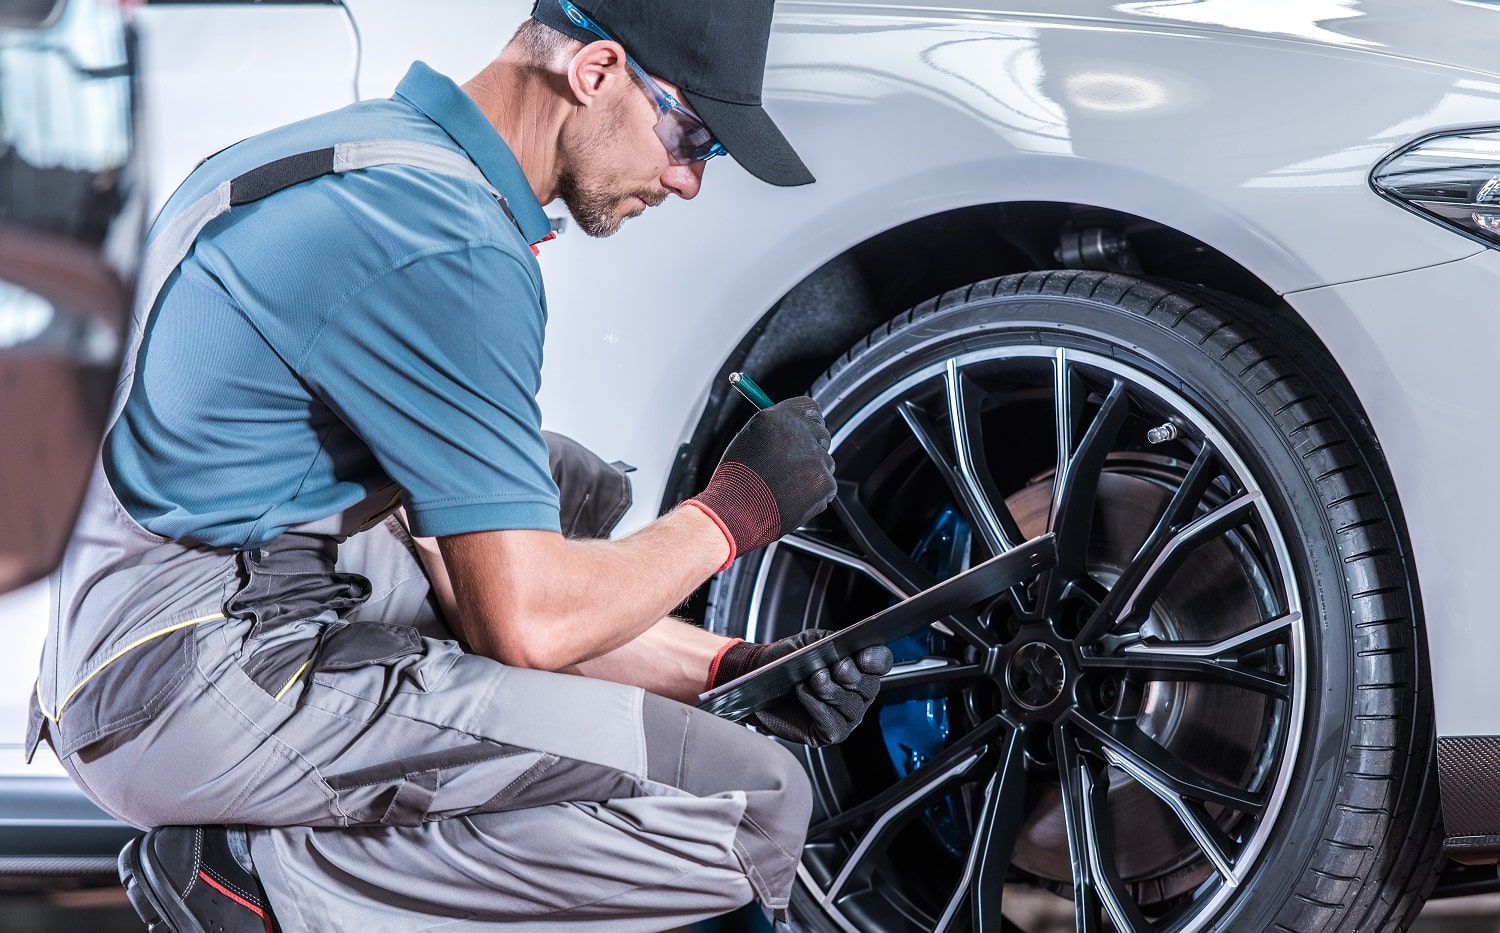
2. Locate the Wire
Identify the wire you need to test. Visual inspection can help identify potential problems, such as corrosion or damage.
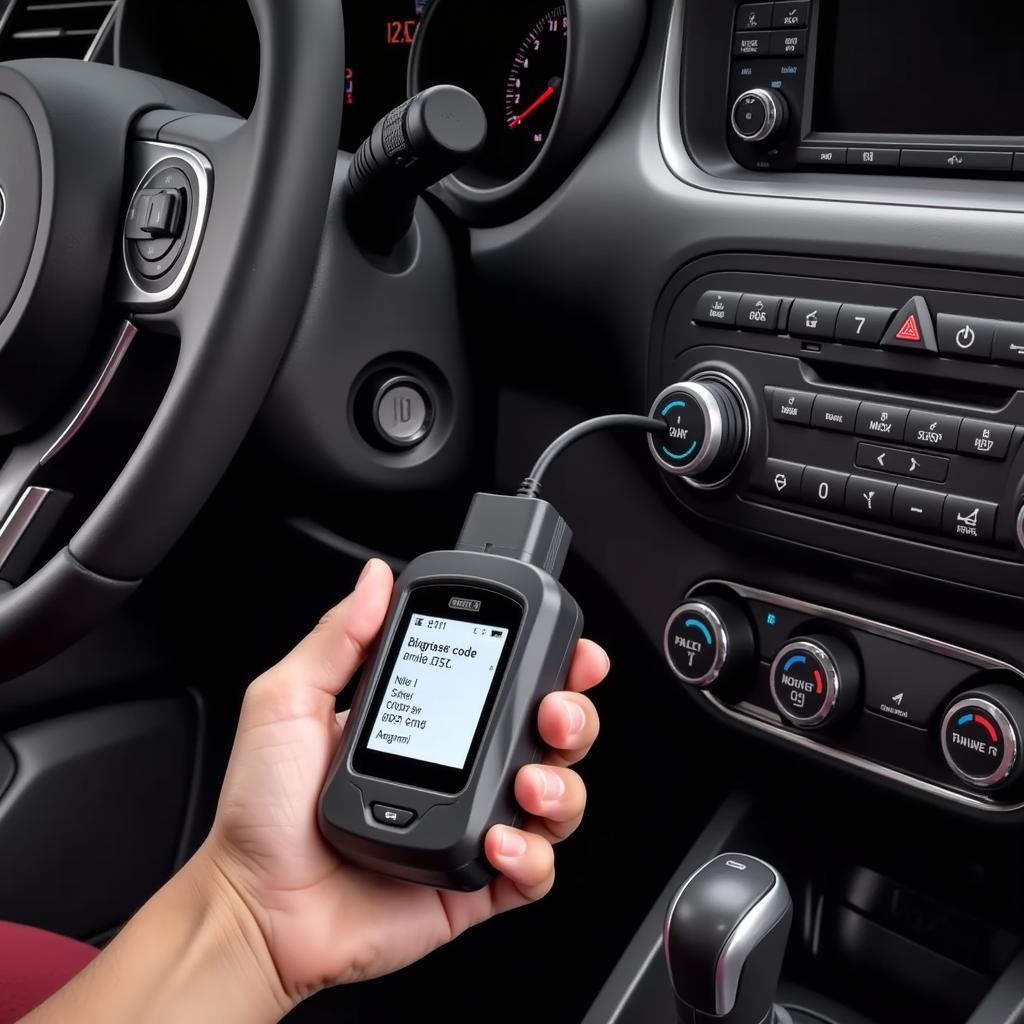
3. Prepare the Scan Tool
Select the multi-meter function on your scan tool and set the appropriate resistance range. The range should be sufficiently high to accommodate the expected resistance value for the wire being tested.
4. Connect the Probes
Connect the scan tool’s probes to the wire. One probe should be connected to one end of the wire, and the other probe should be connected to the other end. Ensure a secure connection to avoid inaccurate readings.
5. Read the Resistance Value
The scan tool will display the resistance value in ohms. Note the reading and compare it to the manufacturer’s specifications for the wire.
6. Interpret the Results
- Low resistance: A low resistance reading indicates a healthy wire with minimal opposition to current flow.
- High resistance: A high resistance reading suggests a problem with the wire, such as corrosion, damage, or a loose connection.
- Open circuit: An open circuit will result in an infinite resistance reading, indicating a complete break in the wire.
“It’s crucial to interpret the resistance readings carefully,” cautions Sarah Jones, a seasoned electrical engineer specializing in automotive systems. “Comparing the results to the manufacturer’s specifications can provide valuable insights into the health of the wire and the potential causes of any electrical issues.”
Troubleshooting Wire Resistance Issues
Once you’ve identified a high resistance reading or an open circuit, you can begin troubleshooting the problem:
- Inspect for damage: Visually inspect the wire for signs of damage, such as cuts, abrasions, or corrosion.
- Check connections: Ensure all connections are secure and free of corrosion.
- Test continuity: Use the scan tool’s continuity function to test for a complete path from one end of the wire to the other.
- Replace the wire: If the wire is damaged or corroded beyond repair, replace it with a new wire of the same gauge and material.
Conclusion
Measuring the resistance of a wire using a scan tool is a valuable diagnostic tool for automotive technicians and DIY enthusiasts. By understanding the principles of wire resistance and following the proper steps, you can accurately identify and troubleshoot electrical problems in your vehicle’s system. Remember to choose the right scan tool, interpret the results carefully, and troubleshoot any issues effectively to ensure your vehicle’s electrical system operates reliably.
FAQ
Q: How often should I measure the resistance of wires in my vehicle?
A: It’s generally recommended to measure wire resistance during routine maintenance or when troubleshooting electrical issues.
Q: Can I use a multimeter to measure wire resistance?
A: Yes, a multimeter can be used to measure wire resistance. However, a scan tool with a dedicated multi-meter function offers additional features and convenience.
Q: What if the resistance reading is too high but there is no visible damage?
A: High resistance readings can sometimes be caused by internal corrosion or microscopic breaks in the wire. It’s best to replace the wire if you suspect these issues.
Q: What are some common causes of high wire resistance?
A: Some common causes include corrosion, damage, loose connections, and improper installation.
Q: Can I use a scan tool to measure the resistance of a wire without disconnecting the battery?
A: It’s generally recommended to disconnect the battery before working on any electrical system to prevent shocks or accidental short circuits. However, there are specific procedures that can be followed in some cases.
Q: Can I use a scan tool to measure the resistance of any wire?
A: While scan tools can be used to measure the resistance of most automotive wires, there might be specific wires that require specialized equipment or techniques.
Q: How do I determine the proper resistance range for a specific wire?
A: The manufacturer’s specifications for the wire should provide the expected resistance value. You can also consult online resources or automotive repair manuals.
Q: What if the scan tool doesn’t display the resistance value accurately?
A: If the scan tool isn’t displaying the resistance value accurately, it could be faulty or malfunctioning. Consider using a different scan tool or checking the tool’s calibration.
Q: Are there any other troubleshooting steps I can take if the wire resistance is high?
A: In addition to the steps mentioned in the article, you can also consider checking the voltage drop across the wire using a multimeter. A significant voltage drop can indicate a problem with the wire or its connections.
Q: What if the resistance reading is too high but there is no visible damage?
A: High resistance readings can sometimes be caused by internal corrosion or microscopic breaks in the wire. It’s best to replace the wire if you suspect these issues.
Q: Can I use a scan tool to measure the resistance of any wire?
A: While scan tools can be used to measure the resistance of most automotive wires, there might be specific wires that require specialized equipment or techniques.
Q: Are there any other troubleshooting steps I can take if the wire resistance is high?
A: In addition to the steps mentioned in the article, you can also consider checking the voltage drop across the wire using a multimeter. A significant voltage drop can indicate a problem with the wire or its connections.


