Setting up an oscilloscope to adjust your car amplifier can seem daunting, but with a little guidance, it’s a manageable process that can significantly improve your car audio system’s performance. This guide will walk you through the steps involved in using an oscilloscope to fine-tune your car amp, ensuring optimal sound quality and preventing potential damage to your equipment.
Understanding the Basics of Oscilloscopes and Car Amps
Before diving into the setup process, it’s crucial to understand the basic principles of both oscilloscopes and car amplifiers. An oscilloscope is a powerful diagnostic tool that allows you to visualize the voltage signals passing through your car’s audio system. By analyzing these waveforms, you can identify distortions, clipping, and other issues that can affect sound quality. Car amplifiers, on the other hand, are responsible for boosting the audio signal to drive your speakers. Precisely adjusting these amplifiers using an oscilloscope helps maximize their efficiency and prevent damage caused by overdriving.
Gathering Your Equipment and Preparing for the Setup
To effectively set up your oscilloscope for car amp adjustment, you’ll need a few essential tools: an oscilloscope, test tone generator, speaker load (dummy load recommended), and appropriate wiring. Ensure your car’s battery is disconnected to prevent any electrical hazards. Connect the speaker load to the amplifier’s output terminals. This load simulates the impedance of your car speakers and protects the amplifier during testing.
Connecting the Oscilloscope to the Car Amp
Connect the oscilloscope’s ground lead to a suitable grounding point on the amplifier’s chassis. Next, connect the oscilloscope’s probe to the amplifier’s output terminals, across the speaker load. Double-check all connections to ensure they are secure and correctly positioned.
Generating a Test Tone and Calibrating the Oscilloscope
Using a test tone generator, feed a consistent sine wave signal into the amplifier’s input. Start with a low frequency (around 1kHz) and a low amplitude. Adjust the oscilloscope’s vertical and horizontal scales to clearly display the waveform. Ensure the waveform is centered on the screen and the amplitude is measurable.
Adjusting the Amplifier Gain and Monitoring the Waveform
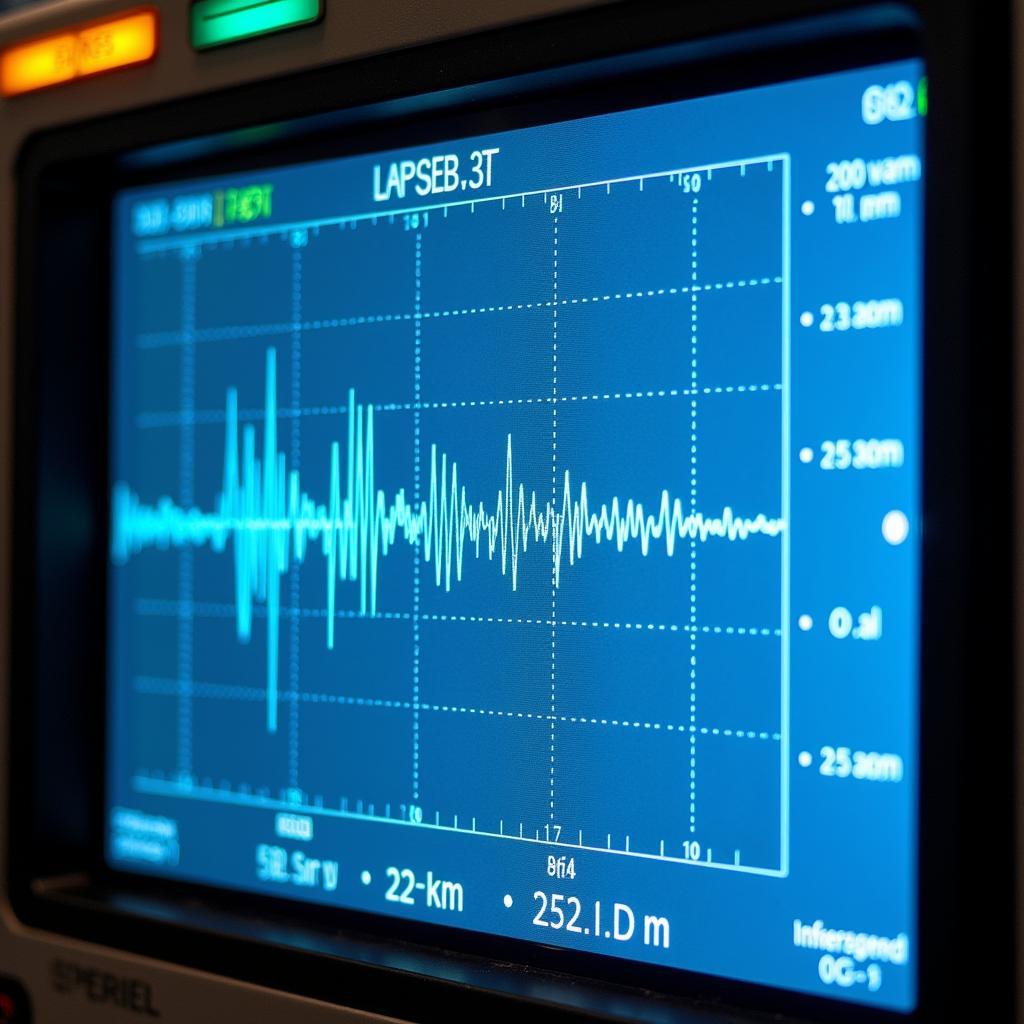
Slowly increase the amplifier’s gain while carefully observing the waveform on the oscilloscope. As the gain increases, the waveform’s amplitude will also increase. Continue adjusting the gain until you begin to see the waveform’s peaks flatten, indicating the onset of clipping. Clipping is a form of distortion that occurs when the amplifier is overdriven and can damage your speakers.
 Oscilloscope Display Showing Clipping Waveform
Fine-tuning for Optimal Performance and Sound Quality
Once you observe clipping, slightly reduce the gain until the waveform returns to a clean, undistorted sine wave. Repeat this process for different frequencies to ensure optimal performance across the entire audio spectrum. This fine-tuning process allows you to maximize the amplifier’s output without introducing distortion, resulting in cleaner and more accurate sound reproduction.
Conclusion
Using an oscilloscope to set up and adjust your car amp is a crucial step in achieving optimal sound quality and protecting your audio equipment. By following the steps outlined in this guide, you can confidently fine-tune your amplifier’s gain, eliminate distortion, and enjoy a richer, more immersive listening experience. Remember to always prioritize safety and double-check all connections before powering on your system.
FAQ
- What is the ideal frequency to use for testing a car amplifier with an oscilloscope?
- How do I know if my oscilloscope is properly calibrated?
- Can I use a standard speaker instead of a dummy load when adjusting my car amp with an oscilloscope?
- What are the signs of a faulty amplifier when viewed on an oscilloscope?
- How often should I adjust my car amplifier’s settings?
- What is the difference between AC and DC coupling on an oscilloscope when used with car audio?
- Can an oscilloscope be used to diagnose other car audio problems besides amplifier clipping?
Related Articles
- Understanding Car Audio Amplifier Specifications
- Choosing the Right Oscilloscope for Car Audio Diagnostics
- Common Car Audio Problems and Solutions
- How to Improve Your Car’s Sound System on a Budget
Need help? Contact us via WhatsApp: +1(641)206-8880, Email: [email protected] or visit us at 276 Reock St, City of Orange, NJ 07050, United States. Our customer service team is available 24/7.


