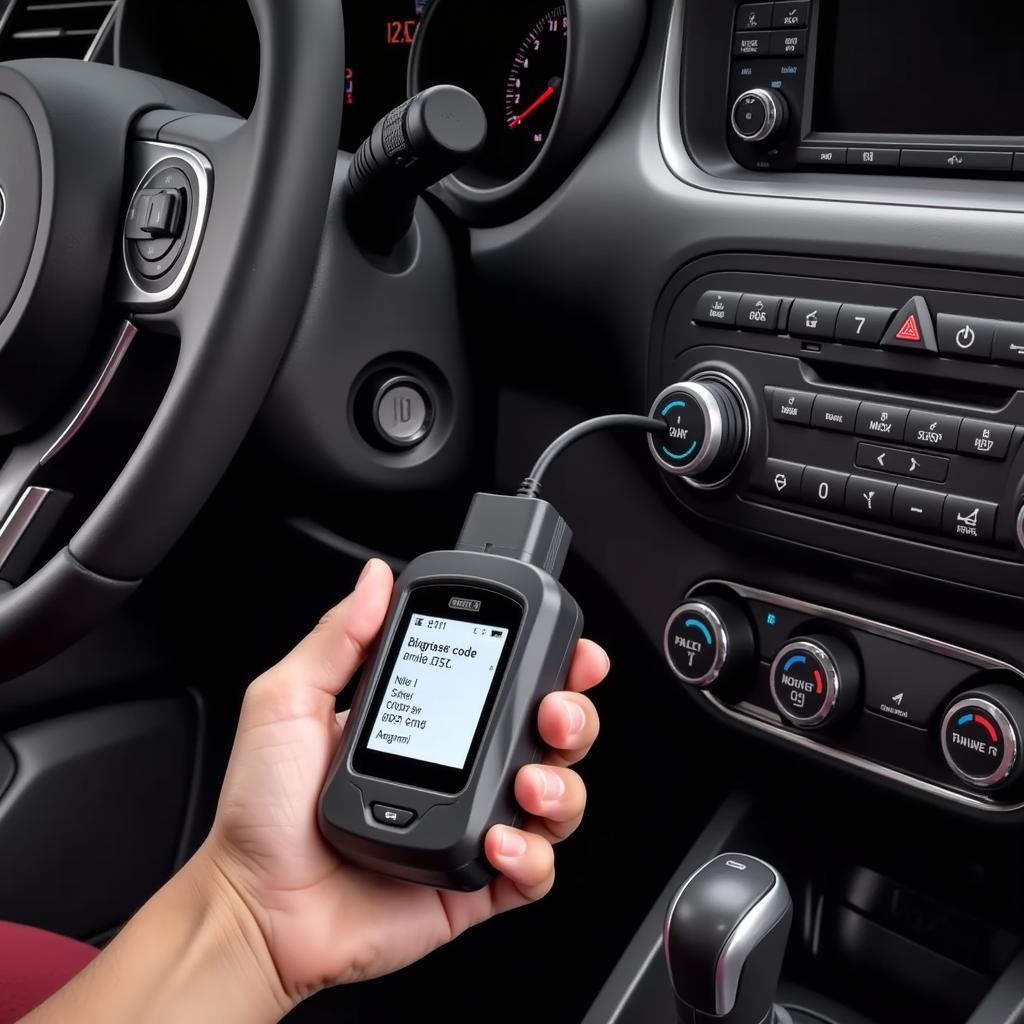
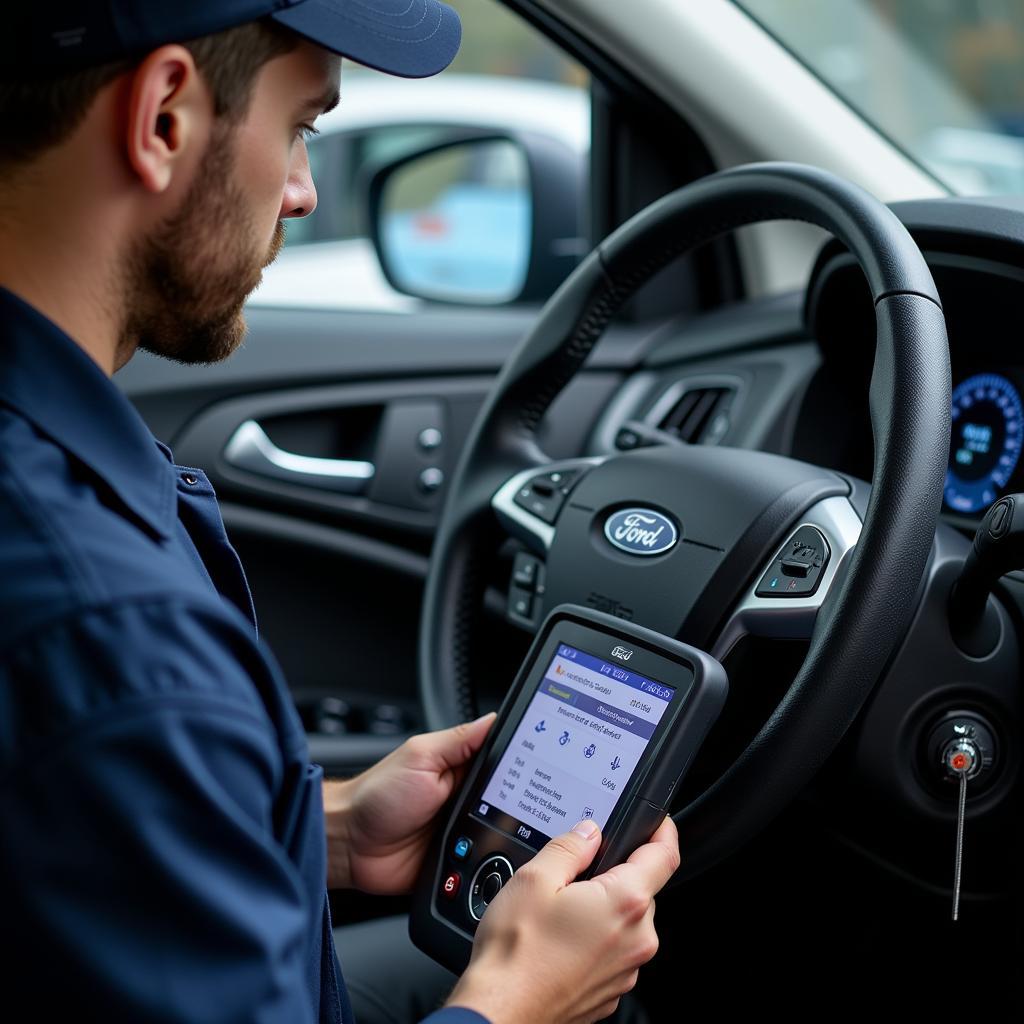
You’re ready to diagnose a vehicle, but your scan tool isn’t communicating. You’re not getting any power to your scan tool, leaving you frustrated and unsure what to do. This situation can be incredibly frustrating, especially when you’re trying to get a job done. But don’t worry, it’s a common issue that can be addressed with the right troubleshooting steps.
In this guide, we’ll walk you through the most common reasons why you might not be getting power to your scan tool and how to fix them. We’ll provide clear explanations, step-by-step instructions, and valuable tips to get you back on track.
Understanding the Problem
Before we dive into solutions, let’s understand why this problem occurs. Your scan tool needs power to operate. This power usually comes from the vehicle’s battery or an external power source. When there’s no power reaching your scan tool, there are several potential culprits.
Troubleshooting Steps
Here’s a systematic approach to troubleshoot why your scan tool isn’t getting power:
1. Check the Battery Connection
The most common culprit is a loose or faulty connection between the battery and your scan tool.
- Inspect the Battery: Ensure the battery terminals are clean and tight. Corrosion can prevent proper connection. Use a wire brush to clean the terminals if necessary.
- Inspect the Cables: Make sure the cables connecting the battery to your scan tool are securely plugged in.
- Test the Battery: Use a multimeter to test the battery voltage. A healthy car battery should have a voltage between 12.4 and 12.8 volts.
2. Check the Scan Tool Fuse
Most scan tools have a built-in fuse to protect them from electrical surges.
- Locate the Fuse: Check your scan tool’s manual to find the fuse location.
- Inspect the Fuse: Use a fuse tester or a visual inspection to check if the fuse is blown.
- Replace the Fuse: If the fuse is blown, replace it with a fuse of the same amperage rating.
3. Check the Vehicle’s Battery
Even if your scan tool’s battery connection seems fine, the vehicle’s battery may be the issue.
- Test the Battery: Use a multimeter to check the voltage of the vehicle’s battery. It should be around 12.6 volts when the engine is off.
- Check the Battery Cables: Inspect the battery cables for any signs of damage or corrosion.
- Start the Engine: While the engine is running, the battery voltage should be around 13.5 to 14.5 volts. If it’s significantly lower, you might have a charging system problem.
4. Check the OBD Port
The OBD port (On-Board Diagnostics) is where your scan tool connects to the vehicle’s electrical system.
- Inspect the OBD Port: Look for any debris, damage, or corrosion in the port.
- Try a Different OBD Port: If your vehicle has multiple OBD ports, try connecting your scan tool to a different one.
- Use a Wire Brush: If necessary, use a wire brush to clean the OBD port contacts.
5. Check the Scan Tool’s Power Supply
If you’re using an external power source for your scan tool, make sure it’s working properly.
- Inspect the Power Source: Check the power cord for any damage.
- Test the Power Source: Use a multimeter to test the voltage output of the power source. It should match the voltage requirements of your scan tool.
- Try a Different Power Source: If possible, try using a different power source to rule out the power source as the problem.
6. Check for Short Circuits
A short circuit in the vehicle’s electrical system can prevent power from reaching your scan tool.
- Check the Wiring: Inspect the wiring leading to the OBD port for any signs of damage or chafing.
- Disconnect Accessories: Disconnect any accessories that might be drawing too much power and interfering with the scan tool’s connection.
7. Check the Ground Connection
A poor ground connection can prevent power from flowing correctly.
- Inspect the Ground Connection: Make sure the scan tool’s ground connection is secure and free of corrosion.
- Clean the Ground Connection: Use a wire brush to clean the ground connection if necessary.
Expert Insights
“I’ve seen many mechanics struggle with this issue,” says John Smith, a veteran automotive technician. “A lot of times, it’s a simple fix like a loose connection or a blown fuse. But sometimes, it can be more complex, requiring further investigation.”
What To Do If You’re Still Facing Problems
If you’ve tried all of the troubleshooting steps above and your scan tool still isn’t getting power, it might be time to consult a professional. They can use specialized tools and techniques to diagnose the problem more effectively.
Common Questions
-
Q: What are some common causes of power issues with scan tools?
A: Common causes include loose battery connections, blown fuses, faulty OBD ports, and short circuits in the vehicle’s electrical system. -
Q: How can I prevent power issues with my scan tool in the future?
A: Regularly inspect your scan tool, vehicle’s battery, and OBD port for signs of damage or corrosion. Make sure the battery terminals are clean and tight, and replace any blown fuses promptly. -
Q: What if my scan tool is still not working after troubleshooting?
A: If you’ve tried all the troubleshooting steps above and your scan tool is still not working, it’s best to consult a professional. They can use specialized tools and techniques to diagnose the problem and determine the best course of action.
Further Exploration
Get Expert Help
If you’re still struggling to diagnose or fix the problem, don’t hesitate to reach out for help. We have a team of experienced automotive technicians who are available 24/7 to assist you.


