
Let’s face it, music production can be overwhelming, especially when dealing with a plethora of plugins that can make or break your sound. Ever encountered the dreaded “Plugin Not Found” error in Pro Tools? You’re not alone. This is a common issue that can throw a wrench into your creative flow. But fear not, my fellow music makers! Today, we’re diving deep into the world of Pro Tools plugin scanning and demystifying the process, so you can get back to crafting those sonic masterpieces.
The Importance of Scanning Plugins in Pro Tools
Think of plugin scanning as the “getting to know you” stage for Pro Tools and your plugins. It’s the process of letting Pro Tools discover all your installed plugins and add them to its database so they can be recognized and utilized within the software.
Imagine this: you’ve just installed a new, amazing plugin, eager to unleash its sonic magic on your tracks. You open Pro Tools, only to find that the plugin is nowhere to be found. It’s like inviting a new friend to a party, but they’re stuck outside, unable to join the fun. That’s where plugin scanning comes in. It’s the key to unlocking the full potential of your plugin collection.
How to Scan Plugins in Pro Tools
Scanning plugins is a straightforward process. Follow these steps:
- Open Pro Tools and Go to the “Preferences” Menu: Start by launching Pro Tools and navigating to the “Preferences” menu. This is your control center for configuring various aspects of the software.
- Locate the “Plug-Ins” Tab: Inside the Preferences menu, click on the “Plug-Ins” tab. This is where you’ll find the settings related to your plugin library.
- Click on the “Rescan Plug-Ins” Button: You’ll see a button labeled “Rescan Plug-Ins”. Click on this button to initiate the scanning process. Pro Tools will diligently search your computer for any new or recently installed plugins.
- Wait for the Scanning to Complete: The scanning process may take a few seconds or minutes, depending on the size of your plugin library and the speed of your computer. Let Pro Tools do its thing without interrupting the process.
- Enjoy Your New Plugins: Once the scanning is complete, all your plugins should be readily available for use within Pro Tools. You can now explore their features and start incorporating them into your projects.
What to Do if Pro Tools Can’t Find Your Plugins
Sometimes, even after a thorough scan, Pro Tools might still struggle to find your plugins. Don’t panic! Here are some troubleshooting tips:
- Check your plugin paths: Ensure that the plugin folders are correctly configured in Pro Tools’ preferences. You might need to manually add or edit the paths to make sure Pro Tools can access your plugins.
- Restart your computer: A simple restart can often resolve unexpected software hiccups, including plugin detection issues.
- Reinstall your plugins: If the problem persists, try reinstalling your plugins. This will ensure that all the necessary files are present and correctly placed.
- Update Pro Tools: Keeping Pro Tools updated with the latest version is crucial, as newer versions often include compatibility improvements and bug fixes.
Frequently Asked Questions:
Q: How often do I need to scan my plugins?
A: It’s generally recommended to scan your plugins whenever you install a new plugin or after updating Pro Tools. This ensures that Pro Tools has access to all your available plugins.
Q: What if I have a lot of plugins? Will the scanning process take a long time?
A: Yes, scanning a large plugin library can take some time. However, Pro Tools is designed to handle even extensive plugin collections efficiently.
Q: Can I scan specific plugins instead of the entire library?
A: No, Pro Tools scanning process scans the entire library at once.
Q: What if my plugins are not showing up in Pro Tools after scanning?
A: Check your plugin paths in Pro Tools Preferences. Make sure they are correct and Pro Tools has access to your plugins folder. You can also try reinstalling the plugin or restarting Pro Tools and your computer.
The Bottom Line:
Plugin scanning is an essential step in the music production workflow, ensuring that you have access to all your plugins within Pro Tools. With this guide, you’re equipped to navigate the process smoothly and avoid any frustration.
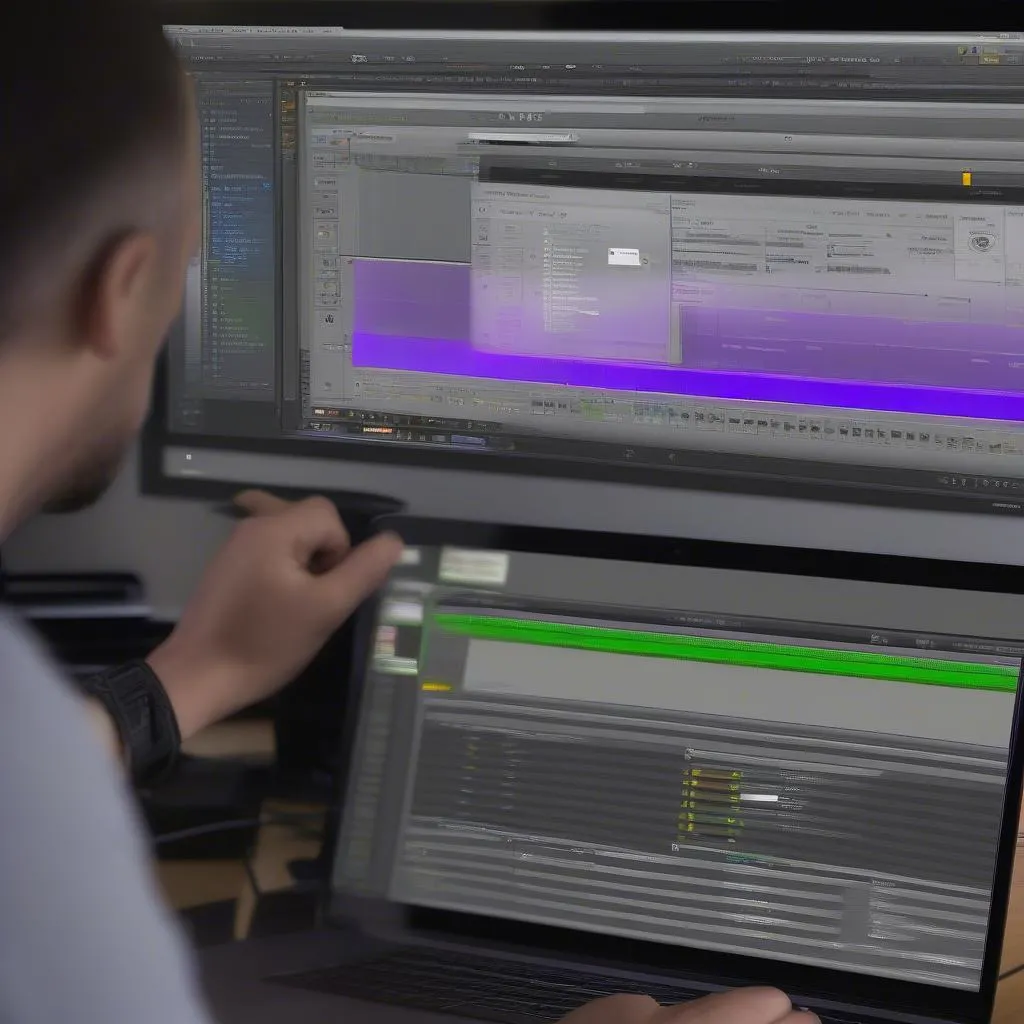 scanning-plugins-in-pro-tools
Let’s Keep the Music Flowing!
Don’t hesitate to reach out if you have any more questions about plugin scanning in Pro Tools or any other music production challenges. We’re here to help you keep the creative juices flowing!
Contact us via WhatsApp: +84767531508
Let’s get your music sounding its best!
Explore More:
- How to Scan Plugins in Pro Tools 12 (Windows)
- Avid Pro Tools Scans Plugins
- How to Re-Scan for Plugins in Pro Tools
- How Do I Get Pro Tools to Scan for Plugins?
- How to Scan for Plugins in Pro Tools 12
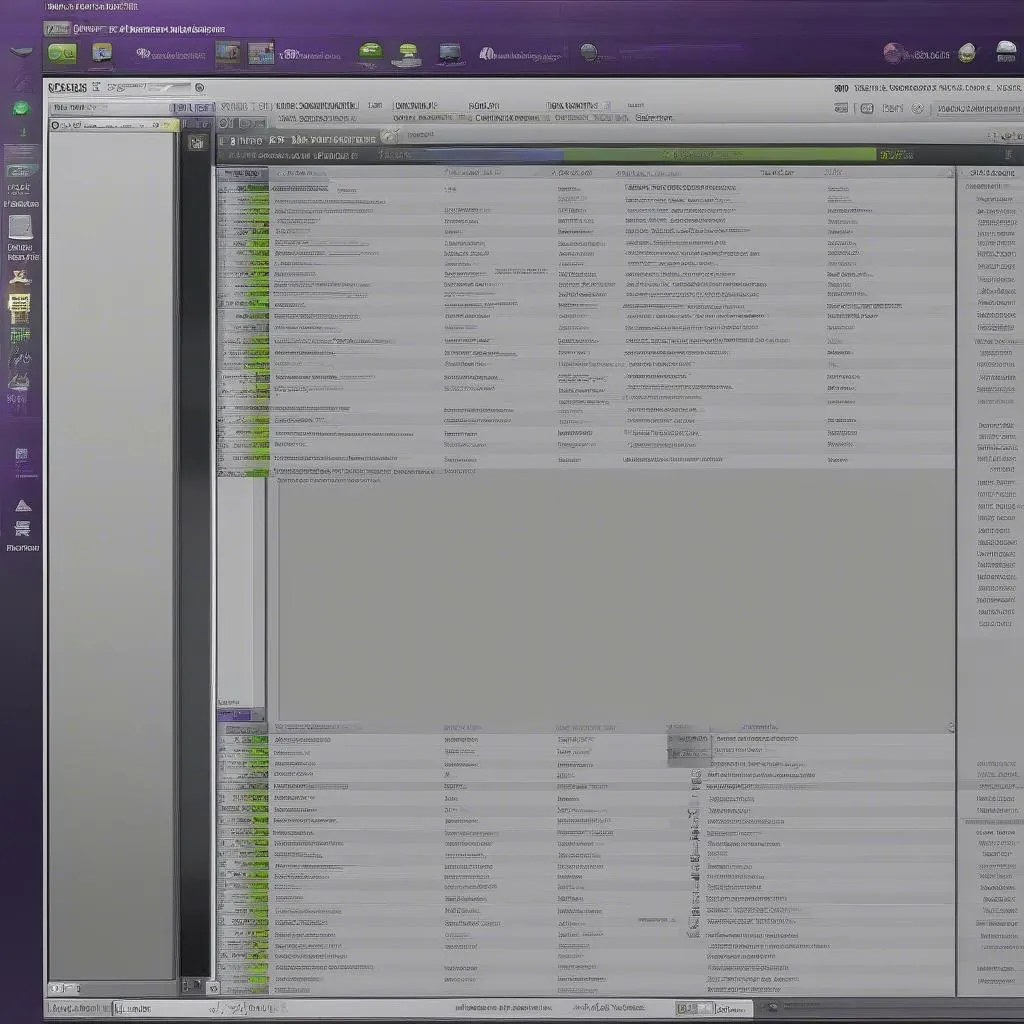 pro-tools-plugin-manager
Remember, music production is a journey, and it’s all about learning and experimenting. Embrace the process, and keep on making beautiful music!

