
So, you’re staring out your tinted windows, wishing you could see the world a little clearer, huh? Maybe you’re tired of the “dark knight” look, or perhaps local laws have you rethinking your window tint choices. Whatever the reason, removing car window tint doesn’t have to be a mystery.
This guide will walk you through everything you need to know about how to remove tint from car windows safely and effectively.
Understanding the Tint Removal Process
Before we dive into the “how-to,” let’s understand what we’re dealing with. Car window tint is essentially a thin film applied to the inside of your windows. It’s designed to stick there pretty stubbornly, which is great for longevity but not so great when it’s time for removal.
“Knowing the type of adhesive used on your tint can drastically change your removal approach,” says automotive expert Mark Stevens, author of “The Automotive Aftermarket Survival Guide.” “Older tints might come off with a bit of heat and elbow grease, but newer ones might require specialized solutions for a clean removal.”
Why Would You Want to Remove Your Tint?
People choose to remove their window tint for various reasons, and understanding these can give us a better perspective on the process itself:
- Legal Requirements: Tint laws vary by state and even city. What’s legal in California might get you pulled over in Pennsylvania.
- Visibility Issues: While tinted windows look cool, they can reduce visibility, especially at night.
- Bubbles and Imperfections: Over time, poorly applied tint can bubble or fade, creating an eyesore.
- Selling Your Car: Potential buyers might be wary of heavily tinted windows, making it a good idea to remove the tint before listing your vehicle.
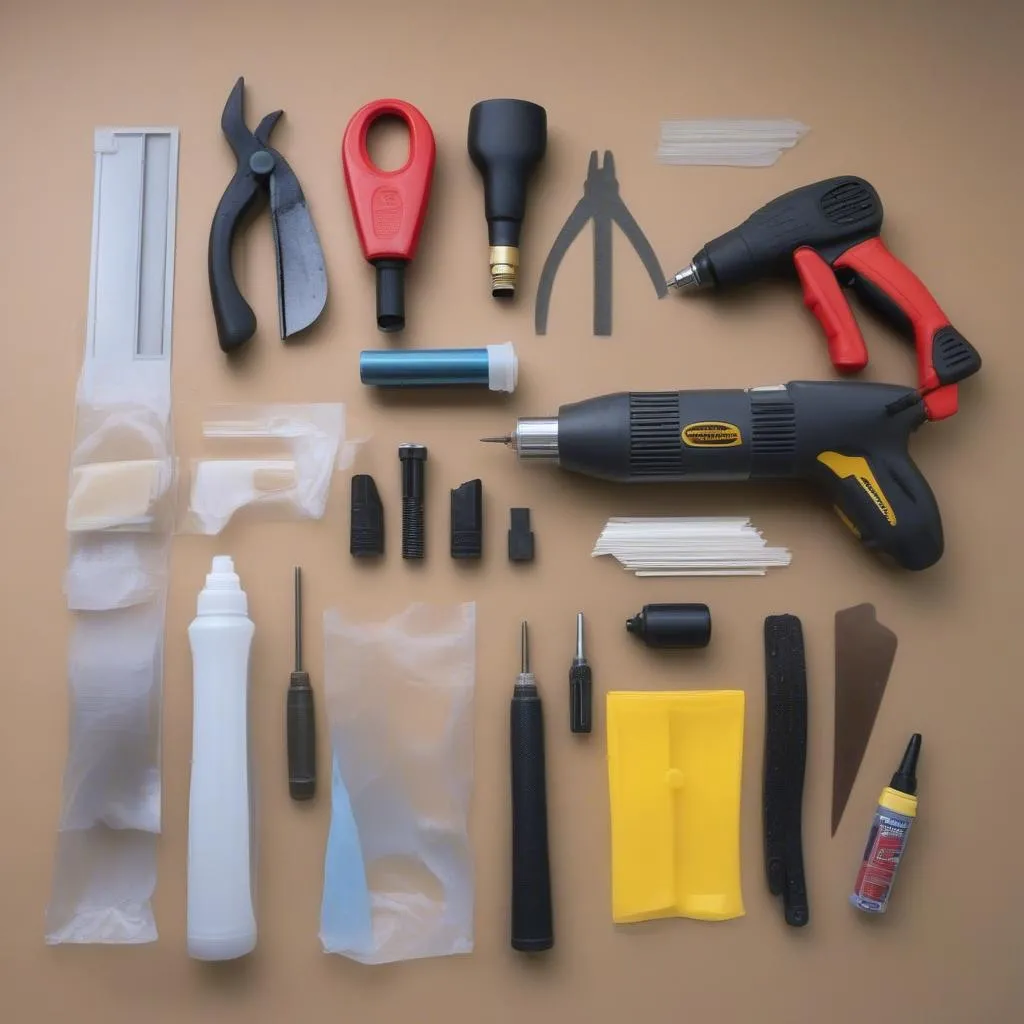 Car Window Tint Removal Tools
How to Remove Window Tint: Step-by-Step
Removing window tint isn’t rocket science, but it does require patience and the right tools. Here’s a breakdown of the most common method:
What you’ll need:
- Heat gun or hair dryer: Heat softens the adhesive.
- Spray bottle: Filled with a soapy water solution (a few drops of dish soap will do) or a specialized tint removal solution.
- Razor blades: Preferably new and sharp, for scraping.
- Plastic scraper or old credit card: For gentler scraping.
- Microfiber cloths: For cleaning and drying the windows.
- Garbage bags and tape: (Optional) To cover the inside of your car doors and protect them from moisture.
Steps:
-
Prepare your workspace: Park your car in a shaded area, out of direct sunlight. This will prevent the adhesive from hardening too quickly. If you’re working indoors, ensure adequate ventilation.
-
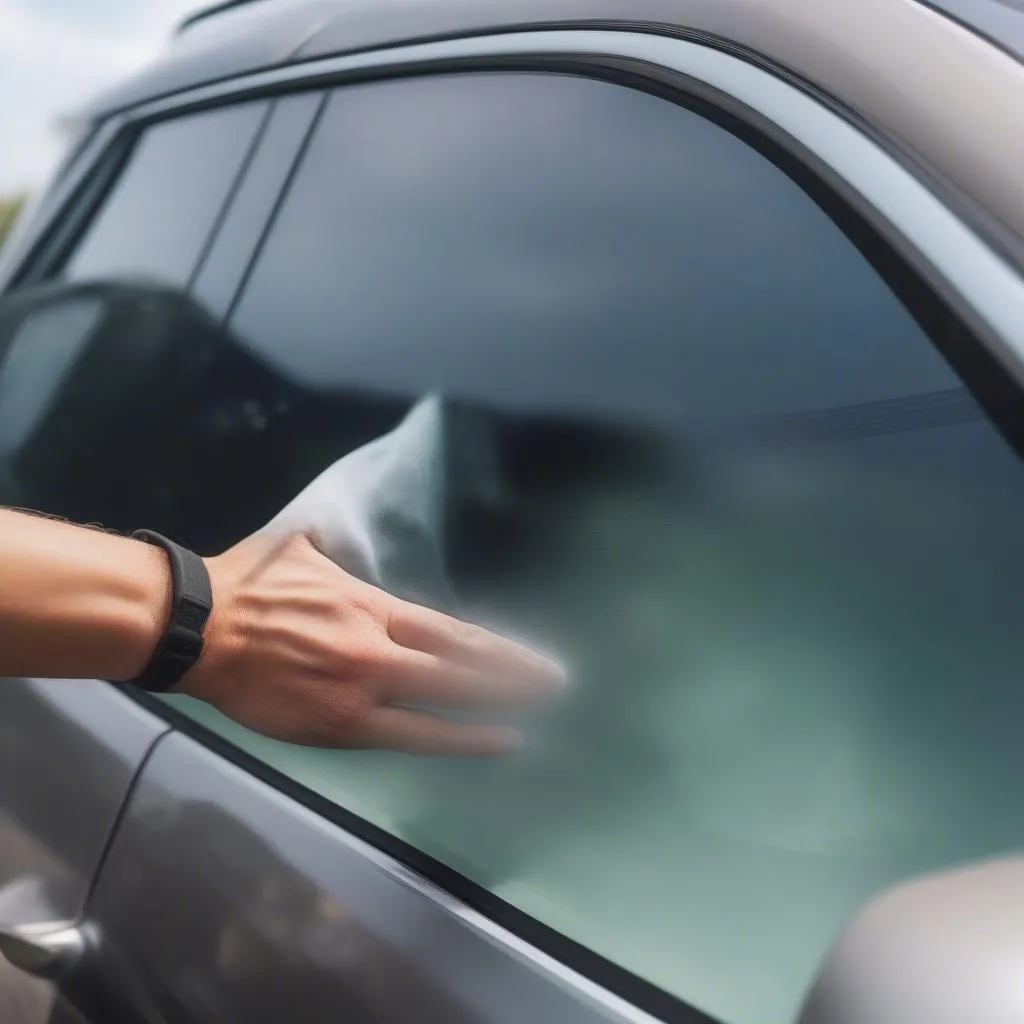
Heat the window: Using your heat gun or hair dryer, apply heat evenly to a small section of the tinted window. Keep the heat gun moving to avoid damaging the glass.
-
Lift the corner: Once the adhesive feels soft (usually after a minute or two of heating), carefully try to lift a corner of the tint film with your fingernail or a razor blade.
-
Spray and peel: As you lift the tint, spray the soapy water solution or tint remover underneath. This helps dissolve the adhesive and makes peeling easier.
-
Continue peeling: Slowly and steadily peel the tint off the window, spraying more solution as needed. If the tint starts to tear, reapply heat and try again.
-
Scrape off residue: Once the tint is removed, use your razor blade or plastic scraper to remove any remaining adhesive residue. Be careful not to scratch the glass.
-
Clean the window: Thoroughly clean the window with your soapy water solution and microfiber cloths to remove any remaining residue or streaks.
 Removing Window Tint with Steam
Additional Tips and Tricks:
- Stubborn adhesive: If you’re dealing with stubborn adhesive, try using a steamer instead of a heat gun. The steam can penetrate the adhesive more effectively.
- Newspaper method: Some people have success using newspapers soaked in soapy water to help loosen the tint. Apply the wet newspaper to the window and let it sit for a while before peeling.
- Professional help: If you’re uncomfortable with the process or dealing with particularly stubborn tint, consider hiring a professional window tint removal service. They have the experience and tools to get the job done quickly and efficiently.
FAQs About Car Window Tint Removal:
Q: Can I remove car window tint myself?
A: Absolutely! With the right tools and a little patience, removing window tint is a DIY-friendly project.
Q: How long does it take to remove window tint?
A: Depending on the size of your windows and the type of tint, it can take anywhere from 30 minutes to a couple of hours per window.
Q: What should I do if I scratch my window while removing tint?
A: Minor scratches can often be buffed out with cerium oxide and a polishing pad. Deeper scratches may require professional attention.
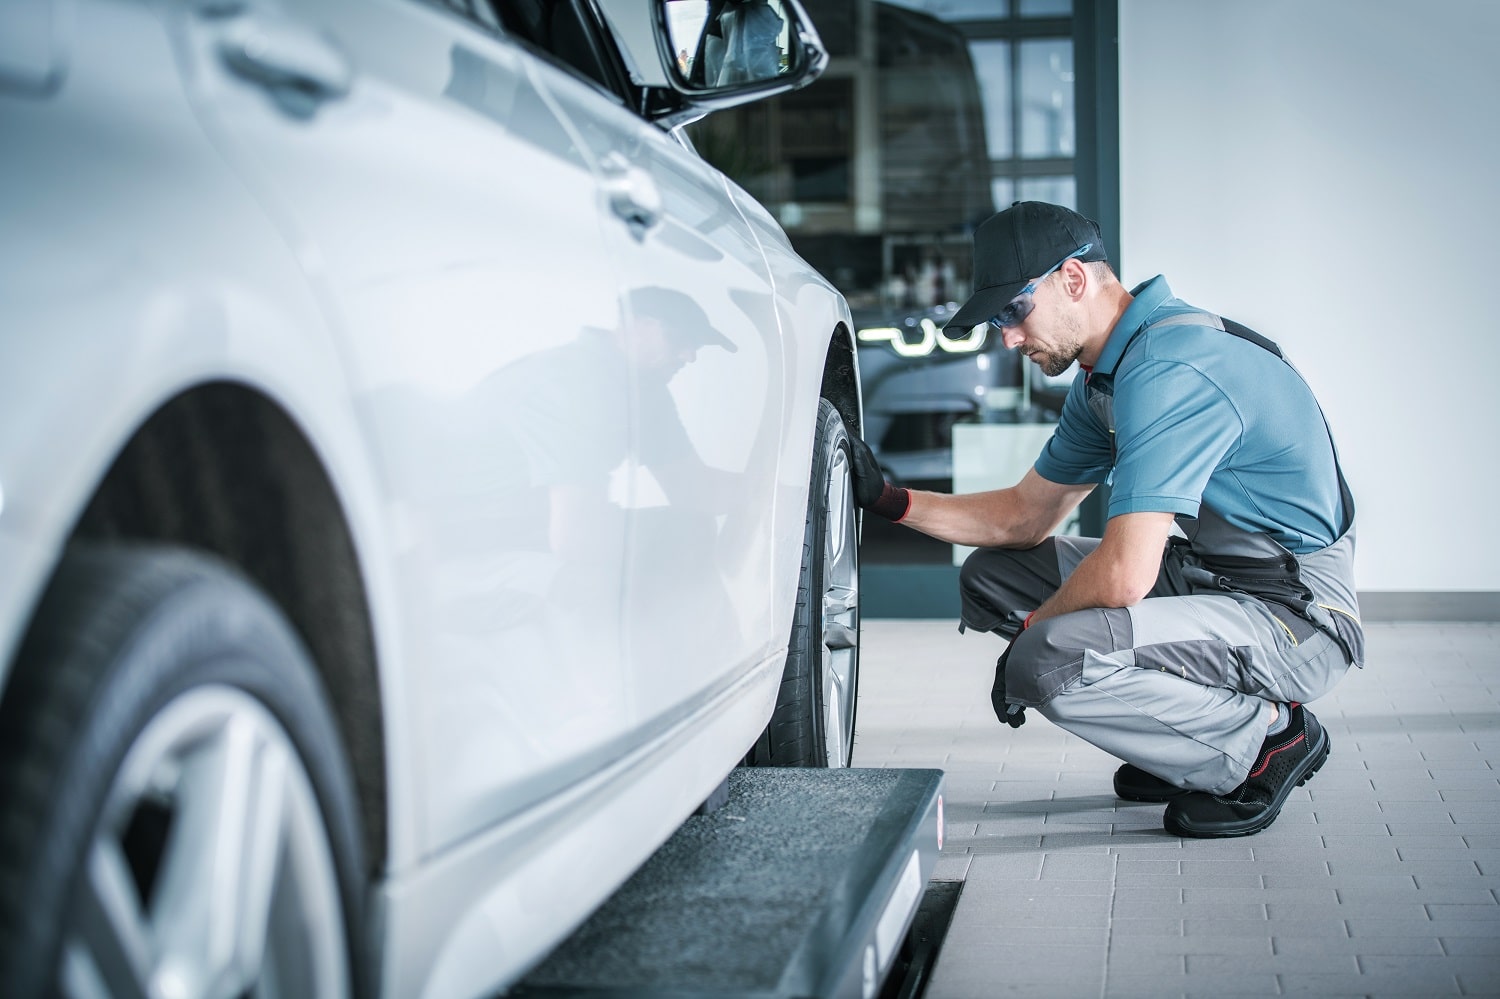
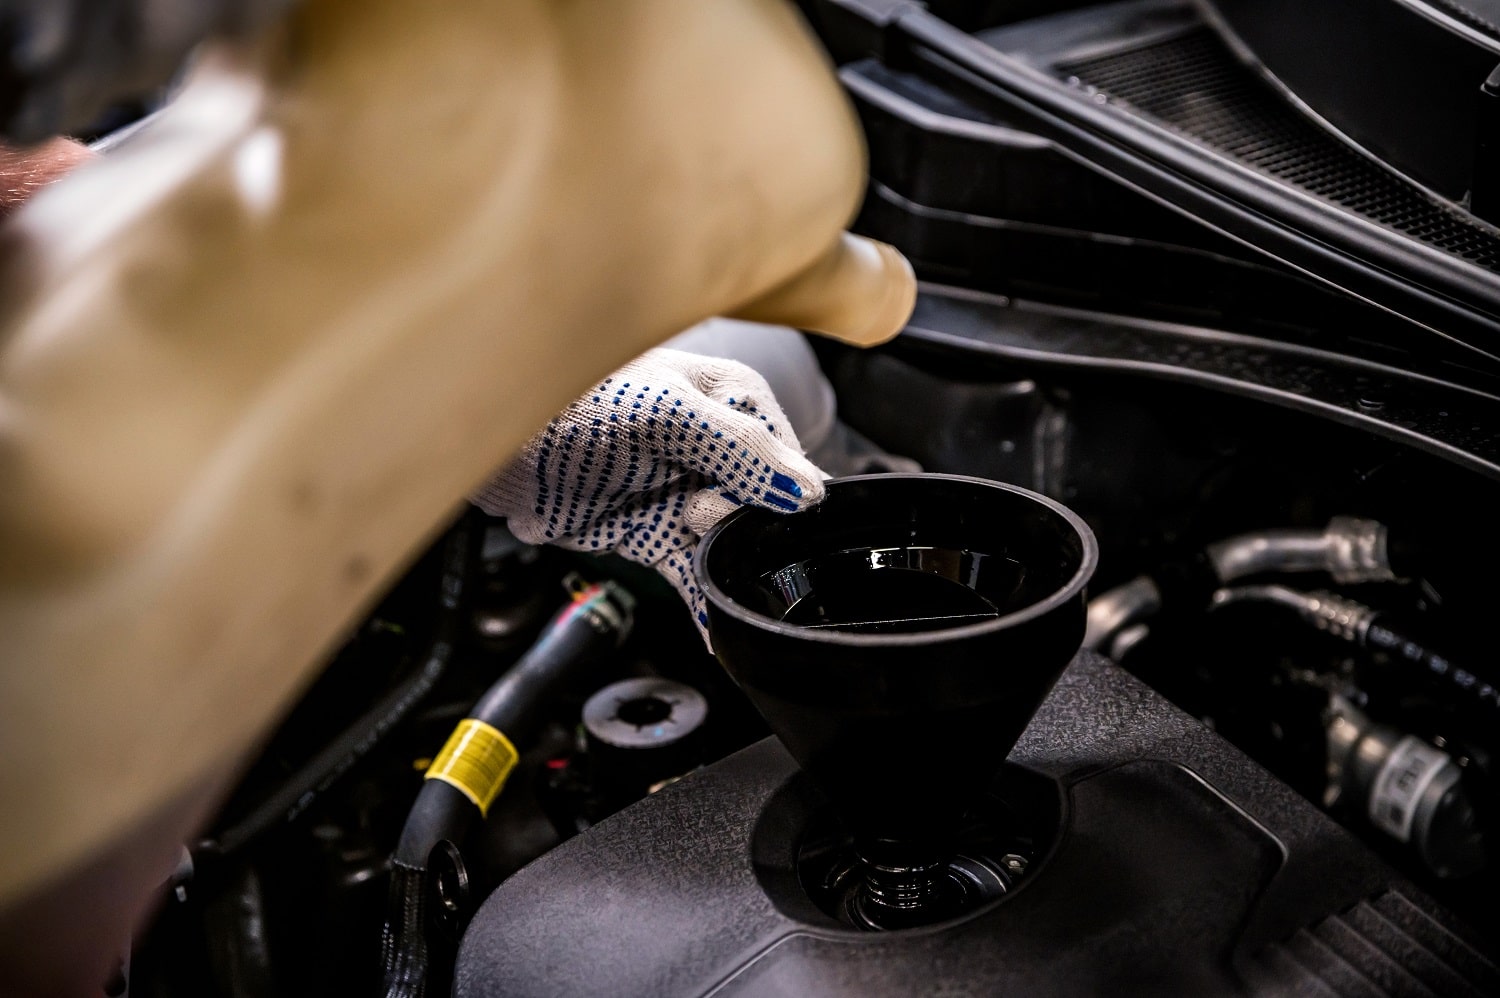
Seeking Professional Help for Your Car
While removing car window tint can be a manageable DIY project, some tasks related to your vehicle are best left to the experts. For instance, if you’re in Portland and need information on car tint prices, you can find a wealth of information on our website.
We even have a comprehensive guide to car tint in Portland, which you can access here: https://diagxcar.com/car-tint-portland-pricese/.
Need Help with Diagnostics Tools? We’re Here For You!
Removing window tint is just one small aspect of car maintenance. Here at Diag XCar, we specialize in automotive diagnostics, particularly dealer-level scanners for European cars. If you need assistance installing diagnostics software or have any questions related to your car’s electrical systems, our team of experts is available 24/7 to assist you.
Contact us on Whatsapp at +84767531508, and let our specialists get you back on the road with confidence.


