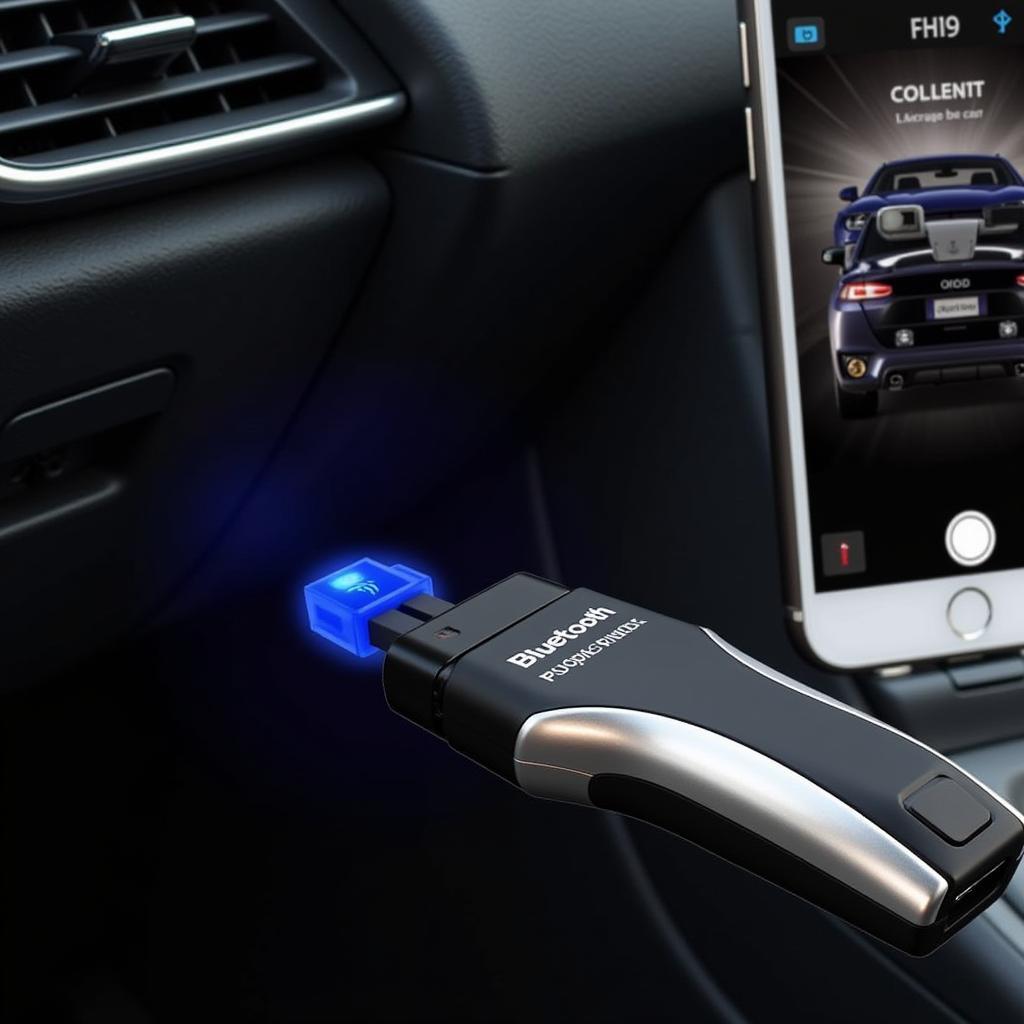
Using an Android phone to diagnose car problems is increasingly popular. But what if you need to save or share those scan results? This is where the ability to take a picture of your scan comes in handy. This article explores how to use a code android tool to take a picture of your scan, ensuring you can document and share those important diagnostic findings.
Why Capture Your Scan Results?
Taking a picture of your scan results using a code android tool offers numerous benefits:
- Record Keeping: Easily track vehicle health over time, making it easier to identify recurring issues or monitor the effectiveness of repairs.
- Sharing with Mechanics: A picture provides valuable context for mechanics, potentially saving you time and money on unnecessary diagnostics.
- DIY Troubleshooting: Refer back to past scans while troubleshooting, aiding in research and comparison.
- Community Support: Share screenshots on forums or with online communities dedicated to car repair to get help from other enthusiasts.
Choosing the Right App and OBD2 Scanner
Not all code android tools are created equal. To take a picture of your scan, you’ll need:
-
A Reliable OBD2 Scanner: This device plugs into your car’s OBD2 port and communicates with your Android phone. Consider factors like Bluetooth connectivity, compatibility with your car model, and user reviews when selecting a scanner.
-
A Feature-Rich App: Many OBD2 apps are available on the Google Play Store, but not all allow you to take pictures of scan results. Look for apps explicitly stating this feature. Some popular choices include Torque Pro and OBD Auto Doctor.
How to Take a Picture of Your Scan
Once you have your OBD2 scanner and app set up:
-
Connect: Pair your phone with the OBD2 scanner via Bluetooth.
-
Launch the App: Open your chosen OBD2 app and establish a connection with the scanner.
-
Run a Scan: Initiate a scan of your vehicle’s systems.
-
View Results: The app will display any detected trouble codes and their descriptions.
-
Capture: Look for a screenshot or camera icon within the app, usually located near the scan results. Tap this icon to take a picture.
-
Save and Share: The captured image will be saved to your phone’s gallery. From there, you can easily share it via email, messaging apps, or social media.
Tips for Effective Documentation
- Clear Screenshots: Ensure the screenshot captures all essential information, including the date, time, and specific trouble codes.
- Organize Your Photos: Create a dedicated folder on your phone to store all your car diagnostic screenshots for easy retrieval.
- Add Notes: Use your phone’s photo editing tools or a separate note-taking app to add context to your screenshots. Mention any symptoms you were experiencing or the specific conditions under which the scan was performed.
Conclusion
The ability to take a picture of your scan results using a code android tool is a valuable asset for any car owner. It empowers you with the information needed to maintain your vehicle, communicate effectively with mechanics, and contribute to the online automotive community. By choosing the right tools and following these simple steps, you can enhance your car maintenance routine and troubleshoot issues like a pro.


