The Canon MF249dw is a versatile multifunction printer that offers scanning capabilities, making it a valuable tool for various tasks. If you’re using Windows 10 and need to connect your Canon MF249dw to scan documents, you’ve come to the right place. This guide will provide a step-by-step walkthrough to help you set up and use your Canon MF249dw scan tool effectively in your Windows 10 environment.
Understanding Your Canon MF249dw Scan Tool
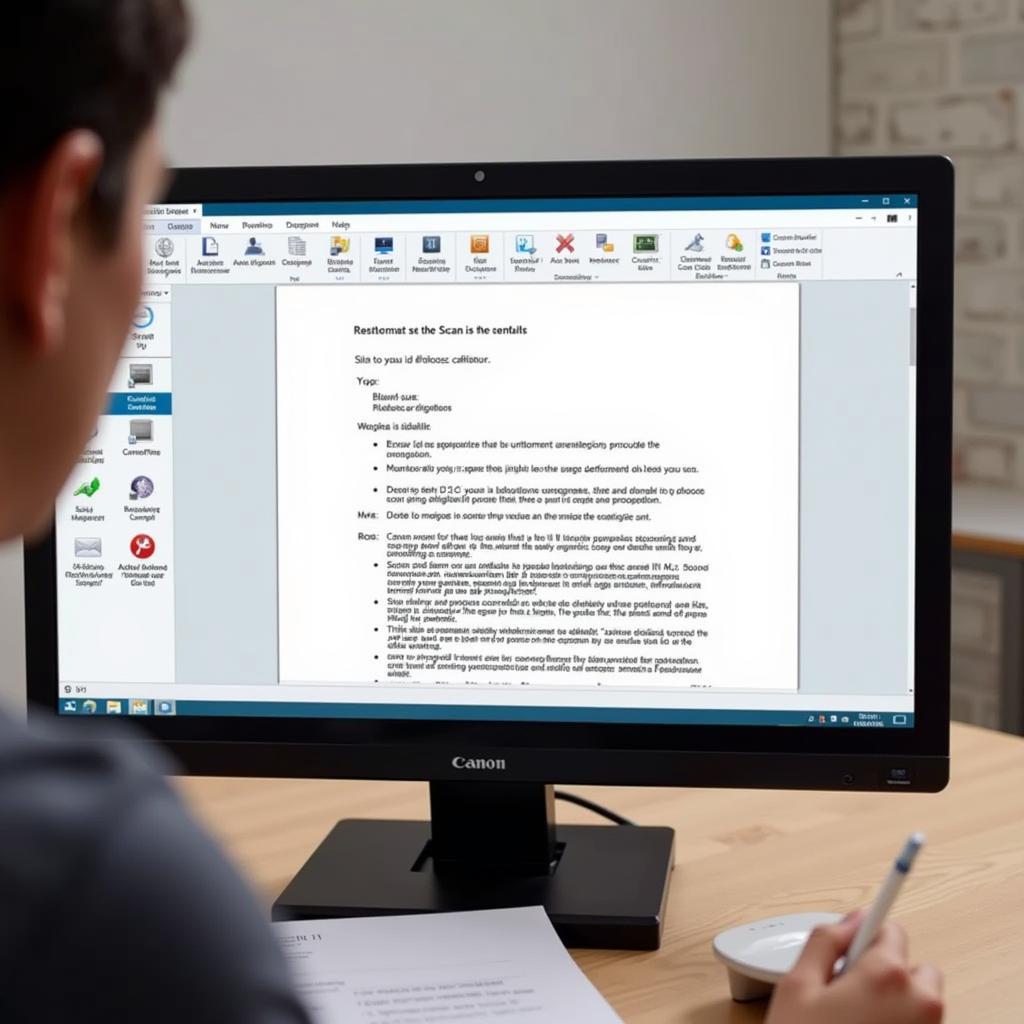
The Canon MF249dw scan tool is a software component that allows your Windows 10 computer to communicate with your printer and perform scanning operations. It provides a user-friendly interface for selecting scan settings, saving scanned files, and managing various other scan-related functions.
Installing the Canon MF249dw Scan Tool on Windows 10
Before you can use your Canon MF249dw scan tool, you need to install the necessary software on your Windows 10 computer. Follow these instructions to get started:
- Download the software: Visit the official Canon website and download the latest drivers and software package for your Canon MF249dw model. Make sure to select the correct version compatible with Windows 10.
- Run the installer: Once the download is complete, run the installer file. The installer will guide you through the installation process, which may involve accepting the license agreement, choosing the installation directory, and selecting specific components.
- Connect your printer: After the software is installed, connect your Canon MF249dw printer to your Windows 10 computer using a USB cable or a wireless network connection.
- Complete the setup: The software will automatically detect your printer and guide you through the final setup steps, including configuring network settings if necessary.
How to Use Your Canon MF249dw Scan Tool in Windows 10
With the Canon MF249dw scan tool installed and your printer connected, you’re ready to start scanning documents. Here’s a simple guide:
- Open the scan tool: Depending on your software version, the scan tool might be accessible through a shortcut on your desktop or via the Windows Start menu. Search for “Canon MF249dw” or “Canon Scan” to find the application.
- Select scan settings: The scan tool’s interface will allow you to choose the scan type (e.g., document, photo), resolution, color mode, file format (e.g., PDF, JPEG), and other settings.
- Place your document: Place the document you want to scan on the scanner bed or in the automatic document feeder (ADF).
- Start the scan: Click the “Scan” button or a similar command to initiate the scan process. The software will process the document and save it to your desired location.
Troubleshooting Common Canon MF249dw Scan Tool Issues in Windows 10
While the Canon MF249dw scan tool is generally reliable, you might encounter some problems occasionally. Here are some common issues and their solutions:
- “Cannot find printer” error: This usually occurs if your printer isn’t properly connected to your computer. Double-check your USB cable or wireless network connection and restart your printer.
- Scanned images are blurry or distorted: This could be due to low resolution settings or a problem with the scanner itself. Adjust the resolution in the scan tool’s settings or consider cleaning the scanner glass to improve image quality.
- Software crashes or freezes: If the scan tool malfunctions, try restarting your computer and the printer. If the problem persists, update your drivers or contact Canon support for assistance.
Frequently Asked Questions about the Canon MF249dw Scan Tool for Windows 10
1. Can I scan to email directly from my Canon MF249dw?
Yes, the Canon MF249dw scan tool allows you to scan documents directly to email. This feature is usually available in the scan tool’s settings, where you can configure email addresses and send scan attachments.
2. What file formats can I scan to using my Canon MF249dw?
The Canon MF249dw supports various file formats, including PDF, JPEG, TIFF, and PNG. You can select the desired format in the scan tool’s settings.
3. How do I adjust the scan resolution for my Canon MF249dw?
The scan resolution determines the image quality and file size of the scanned document. You can adjust the resolution in the scan tool’s settings, typically measured in dots per inch (DPI). Higher DPI values result in sharper images but larger file sizes.
4. Can I use the Canon MF249dw scan tool with older versions of Windows?
While the Canon MF249dw is compatible with Windows 10, older versions of Windows may have limited compatibility. Check the Canon website for driver and software support for your specific Windows version.
5. Can I use the Canon MF249dw for scanning photos?
Yes, the Canon MF249dw is capable of scanning both documents and photos. You can use the scan tool to scan photos and choose appropriate settings for optimal image quality.
Conclusion
The Canon MF249dw scan tool is a user-friendly and efficient way to scan documents using your Windows 10 computer. By following the steps outlined in this guide, you can easily set up and use your Canon MF249dw to capture and save important documents in various file formats. Remember to regularly update your drivers and software to ensure optimal performance and troubleshoot any issues that may arise.
 Canon MF249dw Scan Tool for Windows 10
Need further assistance? Contact our team of experts 24/7 at +1(641)206-8880, via email at [email protected], or visit our office at 276 Reock St, City of Orange, NJ 07050, United States. We’re here to help you get the most out of your Canon MF249dw scan tool.