Replacing a cracked or damaged Autel MaxiSys 908 screen doesn’t have to be a daunting task. This guide will provide a step-by-step walkthrough of the process, equipping you with the knowledge and confidence to tackle this repair yourself.
Why Replace Your Autel MaxiSys 908 Screen?
Autel’s MaxiSys 908 is a powerful diagnostic tool for automotive professionals. A damaged screen can severely hinder its functionality, impacting your productivity and the accuracy of your diagnoses.
Here are some common reasons for replacing the screen:
- Cracked or shattered glass: Accidents happen, and a drop can easily lead to a cracked screen.
- Unresponsive touch function: A malfunctioning touchscreen can make navigating menus and inputting commands difficult.
- Dead pixels or display lines: These issues can obstruct your view and make it challenging to interpret diagnostic data.
- Screen flickering or discoloration: Such problems indicate underlying issues with the display that necessitate a replacement.
Understanding Your Autel MaxiSys 908 Model
Before you begin, it’s crucial to confirm that you have the correct replacement screen for your specific Autel MaxiSys 908 model. While the replacement process remains largely similar across various versions, subtle differences in screen sizes and connector types exist.
To avoid compatibility issues, verify your device model number, usually found on the back of the tablet, and cross-reference it with the replacement screen’s specifications.
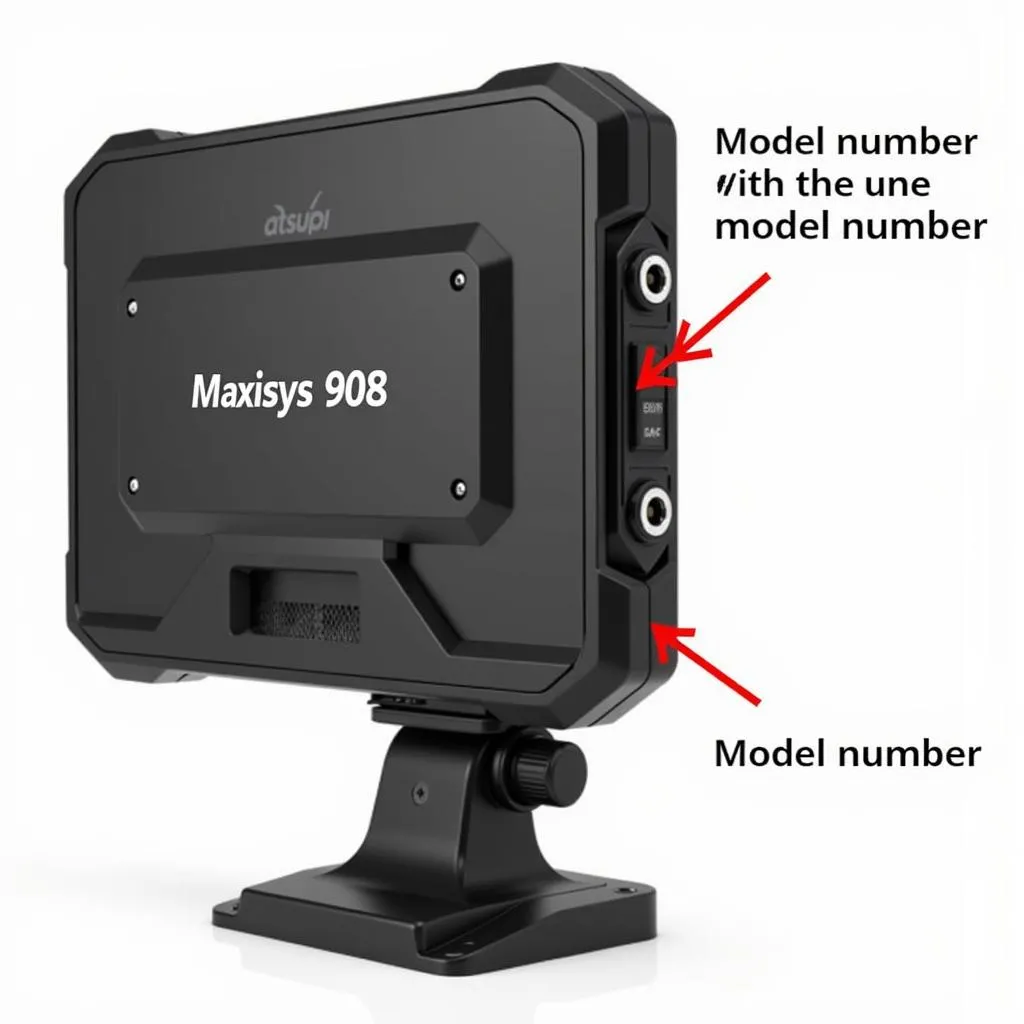 Autel MaxiSys 908 Model Number
Gathering the Necessary Tools
Having the right tools is essential for a smooth replacement process. Here’s a list of what you’ll need:
- Autel MaxiSys 908 replacement screen: Ensure it’s compatible with your specific model.
- Precision screwdriver set: These are crucial for removing the screws holding the device together.
- Plastic pry tools (spudgers): These help to gently pry open the device without causing any damage to the internal components.
- Tweezers: Useful for handling small screws and disconnecting delicate ribbon cables.
- A clean, well-lit workspace: This provides a safe and organized environment for the repair.
Step-by-Step Guide to Autel MaxiSys 908 Screen Replacement
- Power down your Autel MaxiSys 908 completely.
- Carefully remove the back cover using a pry tool, starting from the edges.
- Locate and disconnect the battery cable to prevent any electrical shorts.
- Unscrew and remove any metal shields covering the screen’s connectors.
- Gently disconnect the ribbon cables attaching the old screen to the motherboard.
- Carefully remove the damaged screen, being mindful of any adhesive holding it in place.
- Clean the frame of any remaining adhesive residue.
- Position the new screen, aligning it with the frame and connectors.
- Reconnect the ribbon cables to the new screen, ensuring they are properly seated.
- Reassemble your Autel MaxiSys 908 by reversing the disassembly steps.
- Power on your device to test the new screen’s functionality.
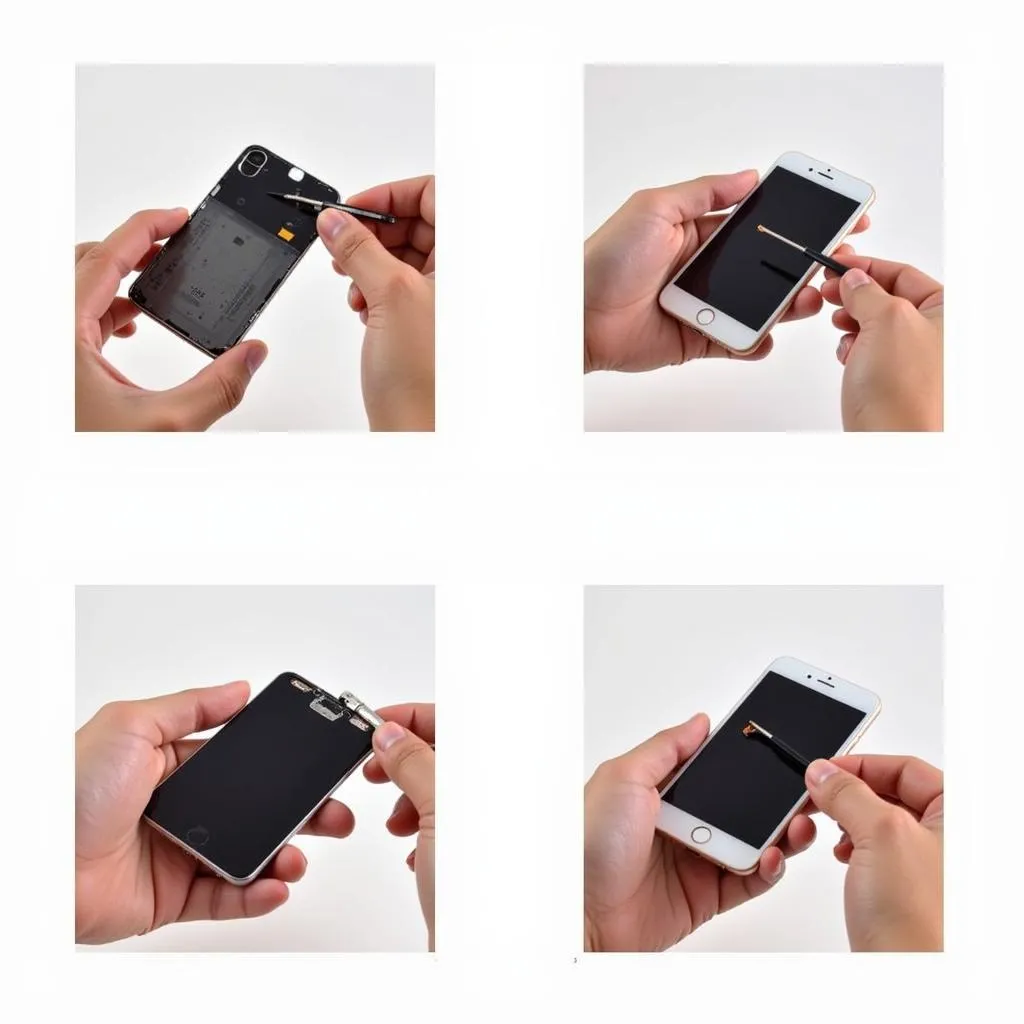 Replacing Autel MaxiSys 908 Screen
Post-Replacement Tips
- Perform a touch calibration within your Autel MaxiSys 908 settings to ensure accurate touch response.
- Apply a screen protector to safeguard your new screen from future scratches and cracks.
- Consider using a protective case to provide additional shock absorption and drop protection.
Conclusion
Replacing your Autel MaxiSys 908 screen is a manageable DIY project that can save you time and money. By following this guide and exercising caution, you can restore your device’s functionality and continue using it with confidence. Remember to prioritize safety throughout the process and seek professional assistance if you encounter any difficulties.
