
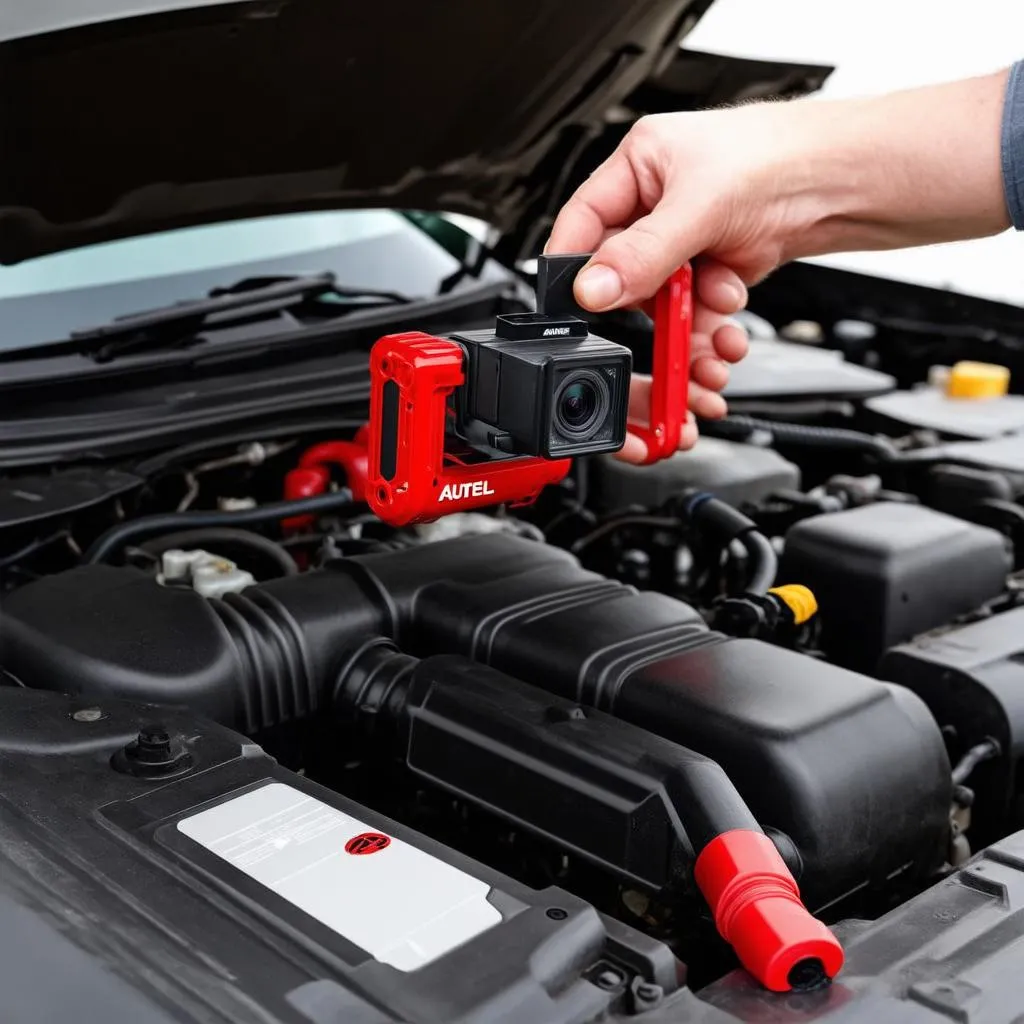
“A picture is worth a thousand words,” goes the old saying. But what if that picture could help you diagnose a car problem in seconds? That’s the power of the Autel Robotics camera, a cutting-edge tool used by professional mechanics for vehicle inspection and repair.
But before you can get started, you need to understand the camera’s settings. In this article, we’ll explore the ins and outs of Autel Robotics camera settings, providing a detailed guide to help you get the most out of this powerful tool.
Understanding Autel Robotics Camera Settings: A Deep Dive
Autel Robotics cameras are versatile tools offering a variety of settings for customization. These settings are designed to optimize the camera’s performance for different scenarios, ensuring clear and detailed images for accurate diagnostics.
The Importance of Settings:
Setting up the camera correctly is vital for several reasons:
- Image Quality: The right settings ensure optimal image resolution, sharpness, and clarity, enabling you to capture crucial details for diagnostics.
- Lighting Conditions: Adjust settings like brightness, contrast, and exposure to compensate for varying lighting conditions, especially in dimly lit areas.
- Focus and Zoom: Fine-tuning focus and zoom capabilities helps you pinpoint specific areas of interest, enabling detailed inspections of hard-to-reach components.
- Recording Features: Recording settings allow you to capture video footage of the inspection process, providing valuable documentation and insights for troubleshooting.
Common Autel Robotics Camera Settings:
1. Resolution:
This setting dictates the image quality and file size. Higher resolutions offer greater detail but result in larger files. Choose a resolution that balances clarity with file size management.
Pro Tip: “High-resolution images can be quite large, potentially taking up a lot of storage space. Consider optimizing the settings for specific situations, for instance, using a lower resolution for quick visual checks and a higher resolution for detailed inspections,” says John Miller, an expert in automotive technology.
2. Brightness and Contrast:
These settings influence the image’s overall lightness and darkness, and the difference between light and dark areas. Adjusting brightness and contrast helps you compensate for challenging lighting conditions.
Pro Tip: “For dimly lit areas, you may want to increase brightness and contrast to enhance visibility, especially when inspecting components like wiring harnesses or connectors,” advises Dr. Emily Carter, a renowned automotive engineer.
3. Exposure:
Exposure controls the amount of light captured by the camera sensor. Adjust this setting to achieve the desired level of brightness in your images, especially when working with different lighting conditions.
Pro Tip: “Proper exposure is crucial when working in bright or dark environments. Overexposure can wash out details, while underexposure can make it difficult to see specific components,” notes Dr. James Wilson, a leading expert in vehicle diagnostics.
4. Focus:
Focus determines the sharpness of your images, ensuring you can clearly see the details of the component you’re inspecting. Many Autel Robotics cameras offer autofocus capabilities, but you can often manually adjust focus for more precise control.
5. Zoom:
Zoom capabilities allow you to magnify specific areas of interest. This setting is incredibly useful for inspecting small components or hard-to-reach areas without physically moving the camera.
6. Recording Mode:
This setting enables you to capture video footage of your inspections. Recording mode settings may include features like resolution, frame rate, and recording time.
Pro Tip: “Recording video can be a valuable tool for documentation and training purposes. It provides a visual record of the inspection process and helps to identify potential problems that may not be immediately apparent,” says Mr. Robert Williams, an automotive technology consultant.
7. Image Stabilization:
This setting helps reduce camera shake, especially when working in tight spaces or while moving the camera. Image stabilization results in sharper, clearer images, especially for video recording.
8. White Balance:
White balance adjusts the color temperature of your images, ensuring accurate color representation. This setting is particularly important when working in environments with varying lighting conditions.
Autel Robotics Camera Settings: A Feng Shui Perspective
While not directly related to the technical aspects of the camera settings, it’s interesting to consider the connection between Feng Shui and the choice of tools for diagnostics.
- Harmony: The right tools, like the Autel Robotics camera, can create harmony between the mechanic and the vehicle, allowing for a smoother and more efficient repair process.
- Flow: Choosing the right settings ensures a smooth workflow, facilitating a seamless inspection and diagnosis, mirroring the principle of smooth energy flow in Feng Shui.
FAQs About Autel Robotics Camera Settings:
- “How do I adjust the Autel Robotics camera settings?”
The specific settings available and how to adjust them will vary depending on your camera model. Consult the user manual or the Autel Robotics website for detailed instructions on your specific device.
- “What are the best settings for inspecting engine components?”
For engine inspections, consider using a high resolution, a balanced brightness and contrast, and a focus setting that allows for clear viewing of small details.
- “How can I use the Autel Robotics camera to troubleshoot electrical issues?”
Use the camera to inspect wiring harnesses, connectors, and electrical components, focusing on clear images for identifying potential damage or corrosion.
- “Are there any recommended settings for recording video of inspections?”
For video recording, choose a resolution and frame rate that strike a balance between quality and file size. Consider using image stabilization for smoother footage.
- “What are some common mistakes to avoid when using Autel Robotics camera settings?”
Common mistakes include forgetting to adjust the settings for different lighting conditions, neglecting to properly focus the camera, and using the wrong resolution for the task at hand.
Conclusion:
Mastering Autel Robotics camera settings is essential for any professional mechanic. By understanding the various settings and their impact on image quality, you can ensure accurate diagnoses and efficient repairs. The right settings will help you capture the crucial details needed to pinpoint problems and solve them effectively.
If you have any questions about Autel Robotics camera settings or need help configuring your camera for specific tasks, don’t hesitate to contact us via Whatsapp: +84767531508. Our team of expert automotive technicians is available 24/7 to assist you!
Ready to explore more?
- Learn about Autel Robotics X-Star camera settings with our detailed guide: https://diagxcar.com/autel-robotics-x-star-camera-settings/
- Discover the latest Autel Robotics camera innovations: https://diagxcar.com/autel-inspection-camera-app/
Remember, understanding the tools of your trade is crucial for success. The right tools, combined with the right knowledge, can unlock a world of possibilities in automotive repair and diagnostics.

