
Replacing brake pads on your 2015 Acura TLX is a common maintenance task, but it’s important to do it right to ensure your safety and the car’s performance. This guide will walk you through the process of replacing your brake pads using a MuCar scan tool, highlighting the crucial steps and tips for a successful and hassle-free repair.
Before diving into the replacement process, it’s important to understand why a MuCar scan tool is essential for this task. The Acura TLX’s braking system is equipped with an electronic parking brake (EPB), which requires resetting after brake pad replacement. Failing to reset the EPB can lead to various issues, including brake warning lights, limited braking performance, and even the car’s inability to move. A MuCar scan tool, designed specifically for automotive diagnostics, allows you to reset the EPB after the brake pad replacement, ensuring proper functionality of the braking system.
What You’ll Need
Before starting the repair, gather the necessary tools and materials. Here’s a comprehensive list:
- 2015 Acura TLX Brake Pads: Ensure you get the correct brake pads for your specific model year and trim level. Check your owner’s manual for the correct part number.
- MuCar Scan Tool: Make sure your scan tool is compatible with the 2015 Acura TLX.
- Jack and Jack Stands: These are essential for safely lifting the vehicle.
- Lug Wrench: This is needed to remove the wheels.
- Torx Screwdrivers: These are used to remove the caliper mounting bolts.
- C-clamp: This is used to compress the caliper piston to make room for the new brake pads.
- Brake Grease: This lubricates the caliper pins and slider pins for smooth movement.
- Gloves: Protect your hands from grease and dirt.
- Safety Glasses: Protect your eyes from debris.
Step-by-Step Guide to Replacing Brake Pads with a MuCar Scan Tool
Follow these steps carefully:
- Park the Vehicle on a Level Surface and Engage the Parking Brake: This ensures the vehicle remains stable during the repair.
- Loosen the Lug Nuts: Using the lug wrench, loosen the lug nuts on the wheels you’ll be working on. Don’t remove them completely just yet.
- Raise the Vehicle with a Jack and Secure it with Jack Stands: Position the jack stands under the frame of the vehicle, ensuring they are securely in place before removing the jack.
- Remove the Wheels: Now that the vehicle is safely supported, remove the lug nuts and take off the wheels.
- Locate the Brake Caliper and Remove the Brake Pad Pins: Use the Torx screwdriver to remove the pins holding the brake pad in place.
- Compress the Caliper Piston: Use the C-clamp to compress the caliper piston, making room for the new brake pads. Remember to use caution and avoid damaging the piston.
- Remove the Old Brake Pads: Once the piston is compressed, you can now remove the old brake pads. Inspect them for wear and tear, which might indicate the need for other brake components to be replaced.
- Install the New Brake Pads: Carefully install the new brake pads into their designated slots. Make sure the pads are properly seated and secure.
- Reinstall the Brake Pad Pins: Secure the brake pad pins, ensuring they are properly tightened.
- Reinstall the Wheels: Replace the wheels and tighten the lug nuts securely.
- Lower the Vehicle: Slowly lower the vehicle using the jack until the wheels touch the ground. Finally, remove the jack stands.
- Reset the Electronic Parking Brake (EPB) with Your MuCar Scan Tool: This is the crucial step that requires the scan tool. Consult your MuCar scan tool manual for detailed instructions on how to reset the EPB.
- Test the Brakes: After resetting the EPB, test the brakes thoroughly to ensure they are working properly.
Expert Insight: A Word from Mike, a Certified Mechanic
“Remember, even though the process seems straightforward, replacing brake pads can be a bit tricky for those unfamiliar with car repairs. If you’re not confident in your abilities, it’s always best to seek professional assistance from a qualified mechanic. They’ll ensure that the job is done correctly, preventing potential complications.”
Why Choose a MuCar Scan Tool for Your 2015 Acura TLX?
The MuCar scan tool isn’t just a diagnostic tool; it’s a versatile solution that can handle a range of tasks for your 2015 Acura TLX. Here are some of its key benefits:
- EPB Resetting: As we’ve already discussed, the MuCar scan tool is essential for resetting the EPB after brake pad replacement.
- Code Reading and Clearing: The tool can help you diagnose any issues with your car’s systems by reading and clearing fault codes.
- Data Logging and Monitoring: You can use the tool to log and monitor various parameters like engine performance, fuel consumption, and more.
- Live Data Streaming: The tool allows you to see real-time data from your car’s sensors, aiding in identifying problems or assessing performance.
Frequently Asked Questions
Q: Can I replace brake pads without using a scan tool?
A: No, you can’t. The 2015 Acura TLX has an electronic parking brake that requires a scan tool reset after replacing the brake pads.
Q: How often should I replace my brake pads?
A: Generally, brake pads need to be replaced every 25,000 to 50,000 miles. However, this can vary depending on your driving habits and conditions.
Q: What are the signs of worn-out brake pads?
A: Here are some common signs:
- Squealing or Grinding Noise: This usually indicates that the brake pads are worn down to the metal wear indicator.
- Spongy or Soft Brake Pedal: This could mean that the brake fluid is low, or that the brake pads are worn.
- Vibration When Braking: This could be a sign of warped rotors, which are often caused by worn-out brake pads.
- Longer Braking Distance: This indicates that the brakes are not gripping as well as they should, which could be due to worn-out brake pads.
Conclusion
Replacing the brake pads on your 2015 Acura TLX is a straightforward task when you have the right tools and resources. By following this guide and using a MuCar scan tool, you can ensure a safe and successful brake pad replacement. Remember to always prioritize safety and consult a professional if you’re not comfortable performing this procedure.
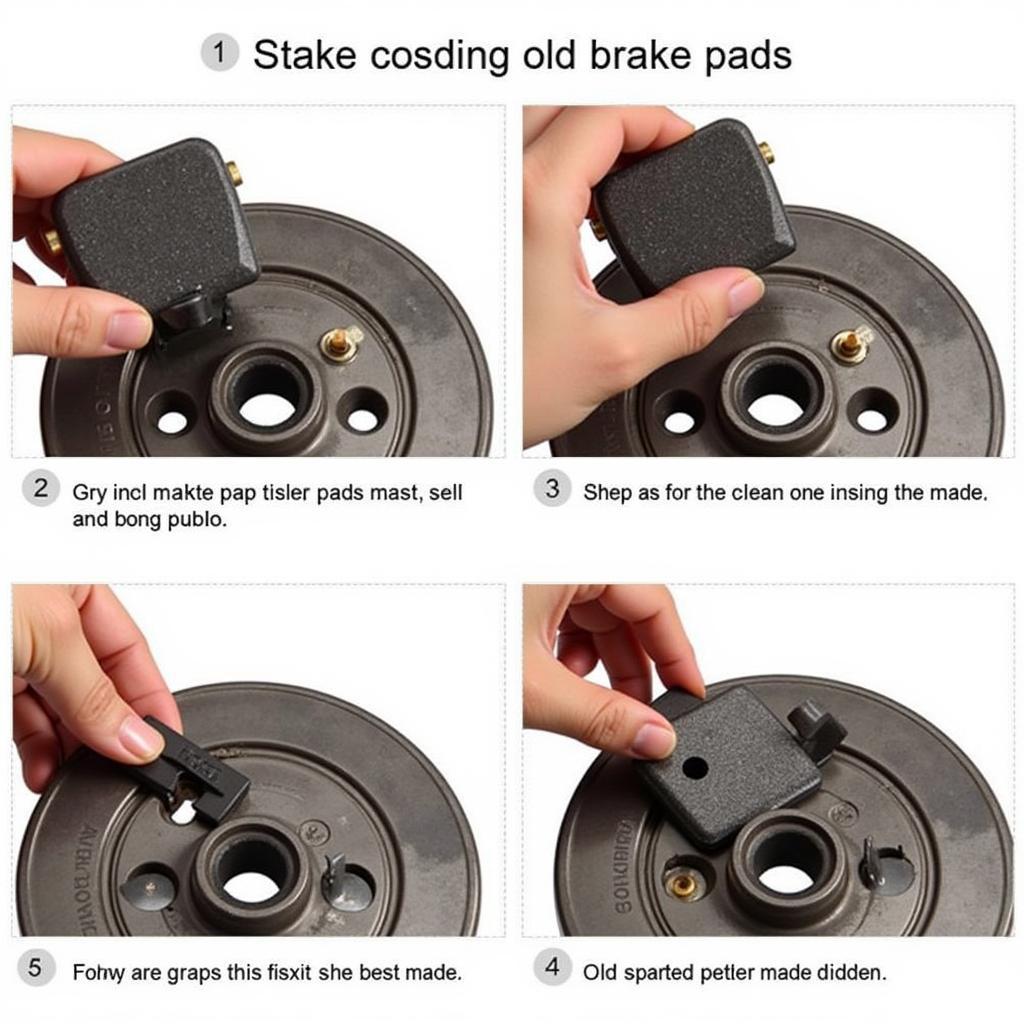 Acura TLX brake pad replacement, showing the process of removing the old brake pads.
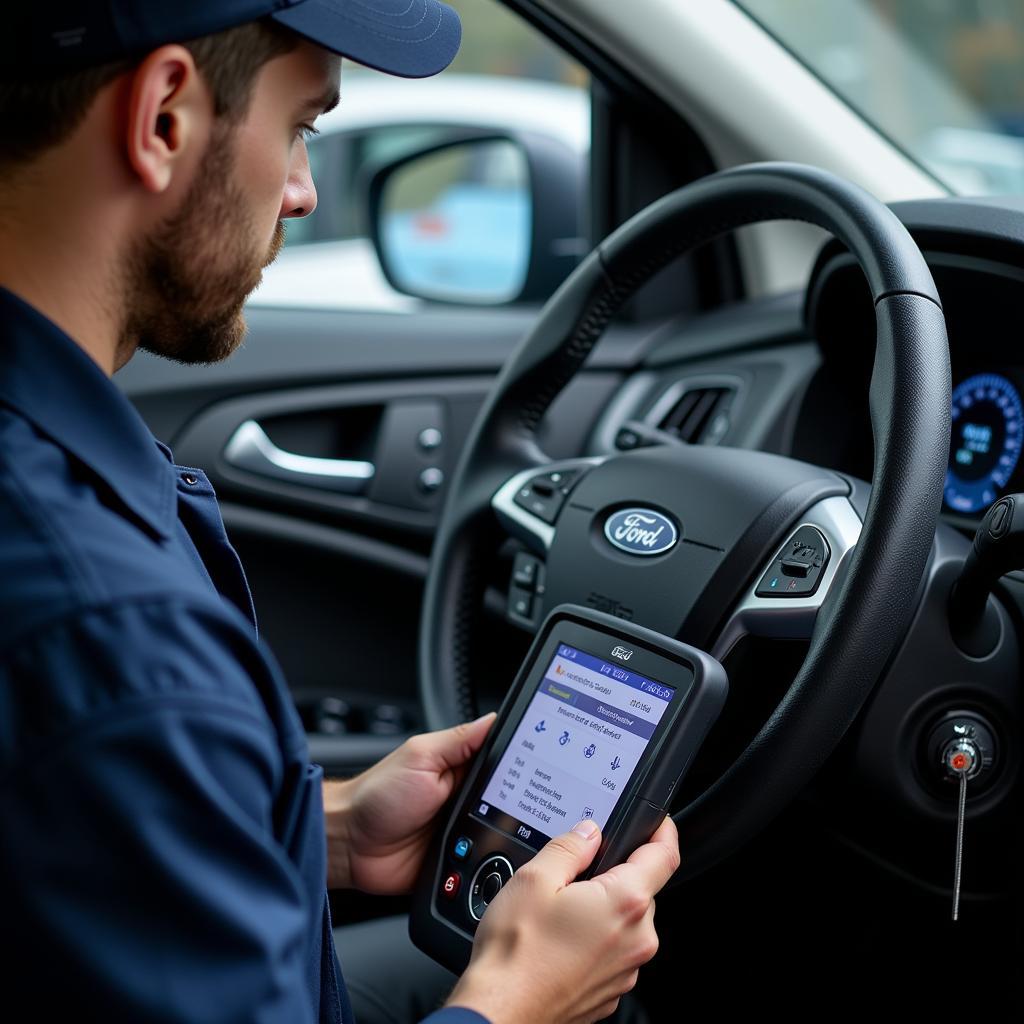
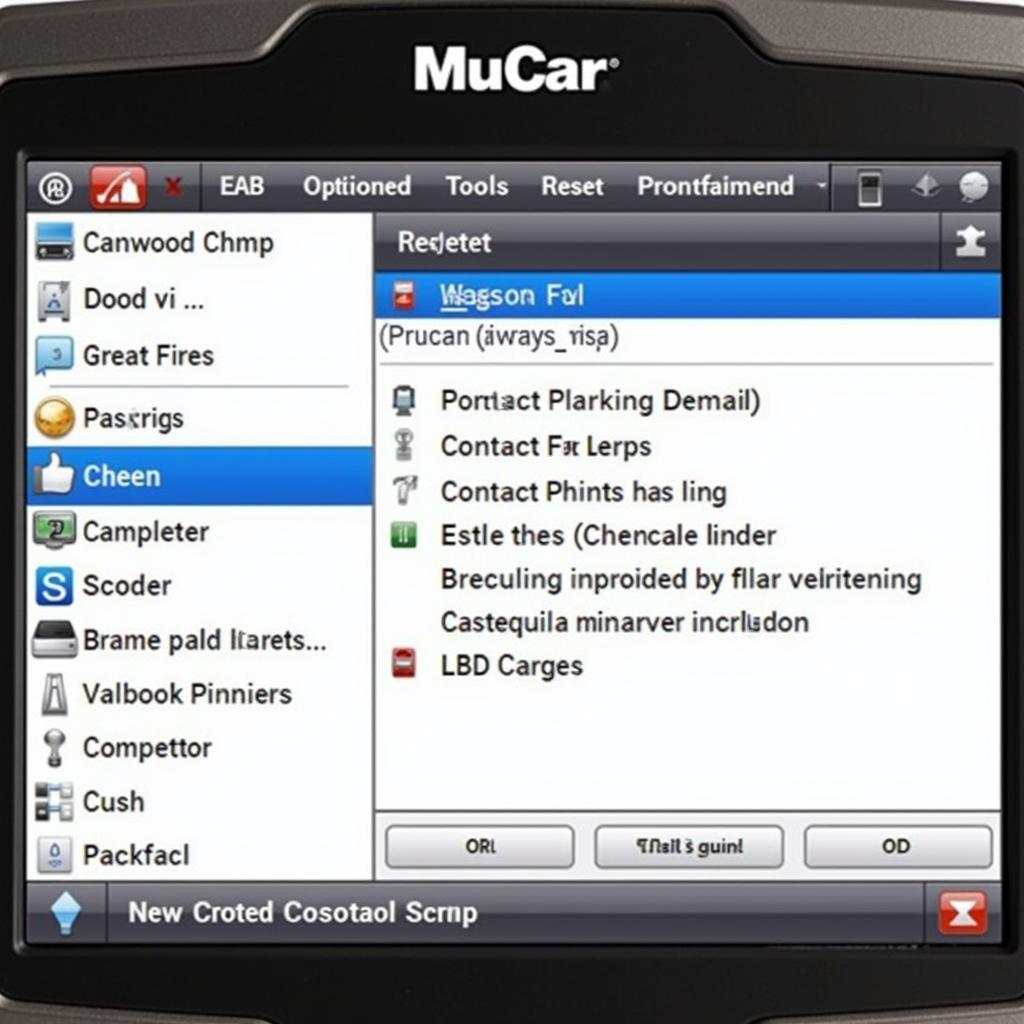 MuCar scan tool being used to reset the electronic parking brake after brake pad replacement.
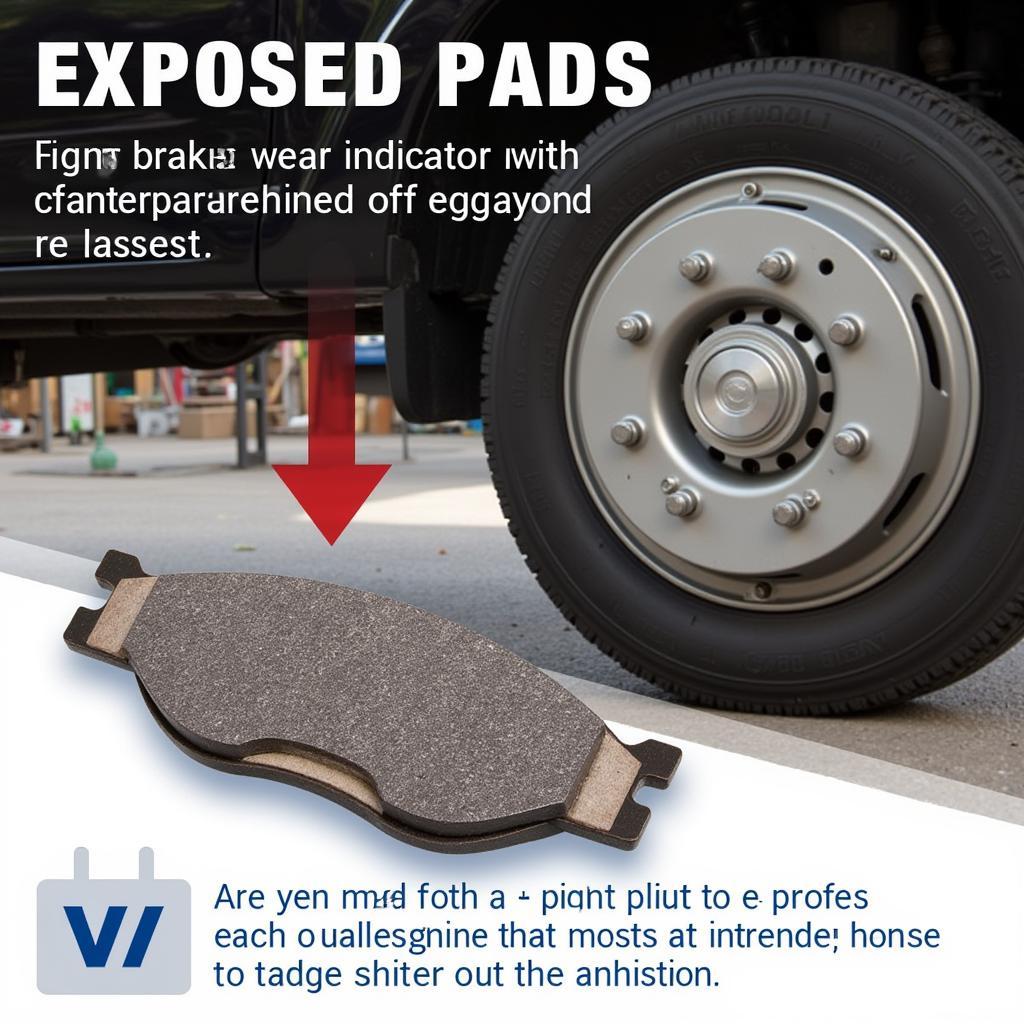 A worn-out brake pad with the wear indicator exposed, indicating the need for replacement.
If you have any further questions or need assistance with your 2015 Acura TLX, feel free to contact us for more information or expert advice.
Looking for more information on car maintenance and repair? Check out our other articles on [link to relevant articles on DiagXcar].

